

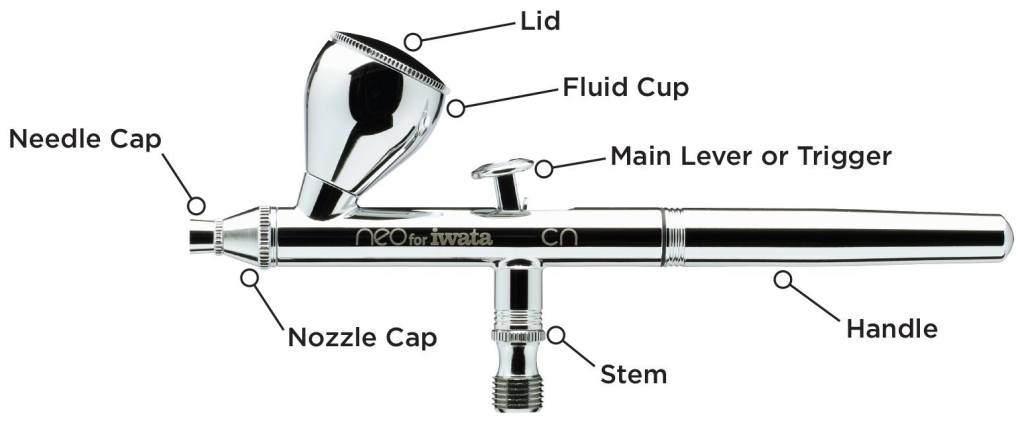
Summary
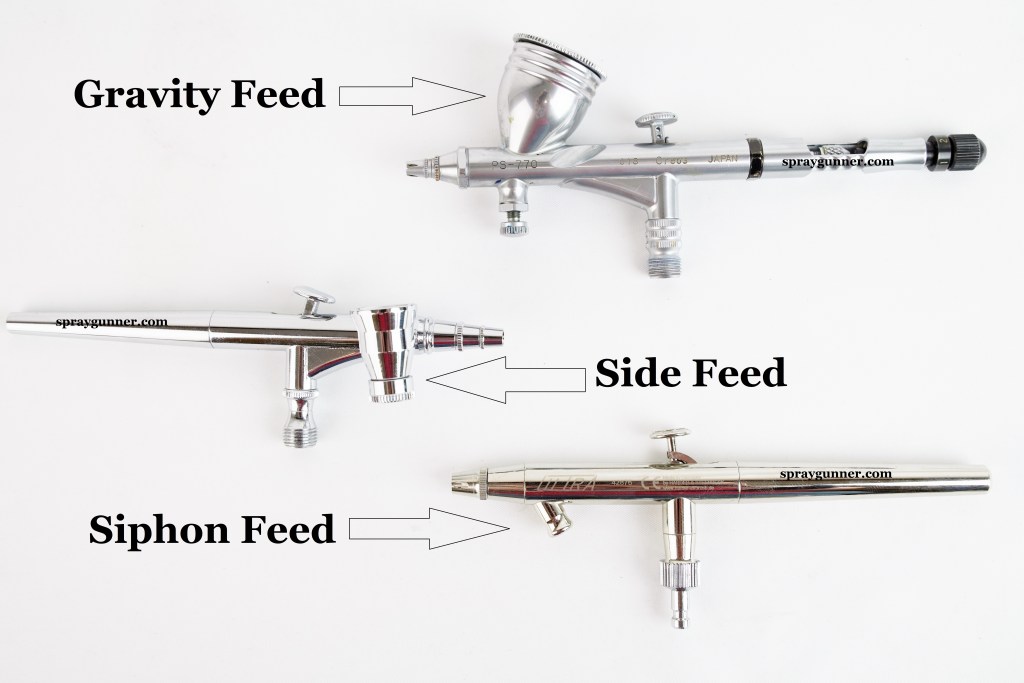
This article addresses the gravity fed, dual action trigger airbrush with acrylic paint. This is the de-facto standard for the model/miniature hobby (other airbrushes are out of scope).
Much of the content here has been sourced from Vince Venturella and his amazing Hobby Cheating videos (I HIGHLY recommend watching these).
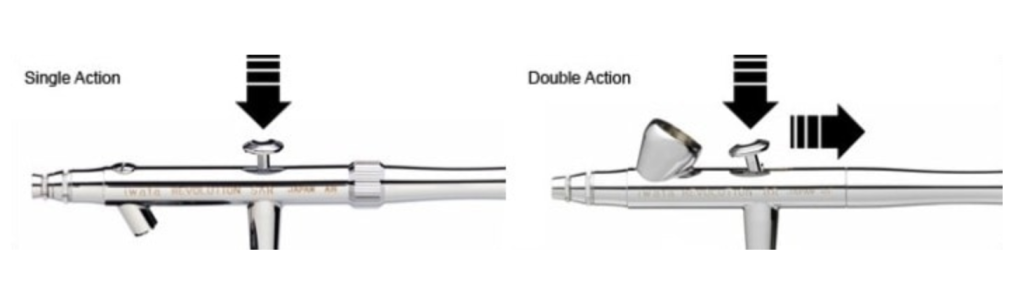
 Double action triggers work by 2 forces accessing 2 separate parts of the airbrush. Pushing straight down opens up the air flow. Pulling back opens up the paint flow. The proper motion to apply paint is: Double action triggers work by 2 forces accessing 2 separate parts of the airbrush. Pushing straight down opens up the air flow. Pulling back opens up the paint flow. The proper motion to apply paint is: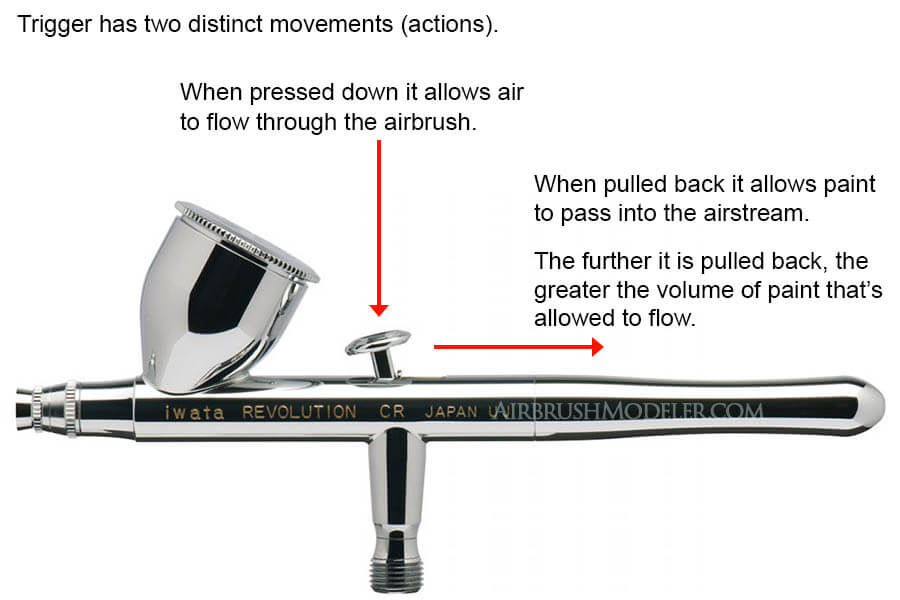 1. Push down and hold at intended depth (let air flow) 2. Pull back (let the paint get caught into the already flowing air) === after you’re done applying the paint and want to stop spraying== 3. Return the trigger forward (moving forward but still keeping the same depth — air flowing). This will stop the paint from spraying. 4. Release the depth of the trigger (let it come back up and close off the air). |
BIGGEST Takeaways
- Always thin everything that goes in your airbrush (more than you think)
- Ratios provided are a baseline/guide, adjust them as needed
- Quick clean frequently (takes 20 seconds)
I created this cheat sheet with the intent of it being cut, laminated, and placed on/near your airbrush work area. You can see my setup as an example with the 4 tables distributed about.

Components
Cleaning
You should Quick Clean your airbrush every couple minutes. Do not let paint sit in your airbrush, as it is very thin and dries incredibly quickly. You don’t want to deal with dried paint inside your airbrush.
 After using the airbrush if you have residual paint, do NOT blow the excess out the front. You risk causing “dry tip” and other issues for no gain. Spill it out of the cup first. After using the airbrush if you have residual paint, do NOT blow the excess out the front. You risk causing “dry tip” and other issues for no gain. Spill it out of the cup first. |
Basic Cleaning
This approach is for when you’re in the middle of your painting session and you need to switch between primers, paints, and/or inks. Vince Venturella did an amazing job on “Fast Cleaning” your airbrush which you can watch here. Definitely watch him in action. I’ve distilled his video down to pictorial guide below. He demonstrates how this clean approach can be done in 20 seconds!
Cleaning Tools
- Squeeze Bottle filled with “cleaner”
(20:1 – distilled water to airbrush cleaner)
note that distilled is NOT the same as filtered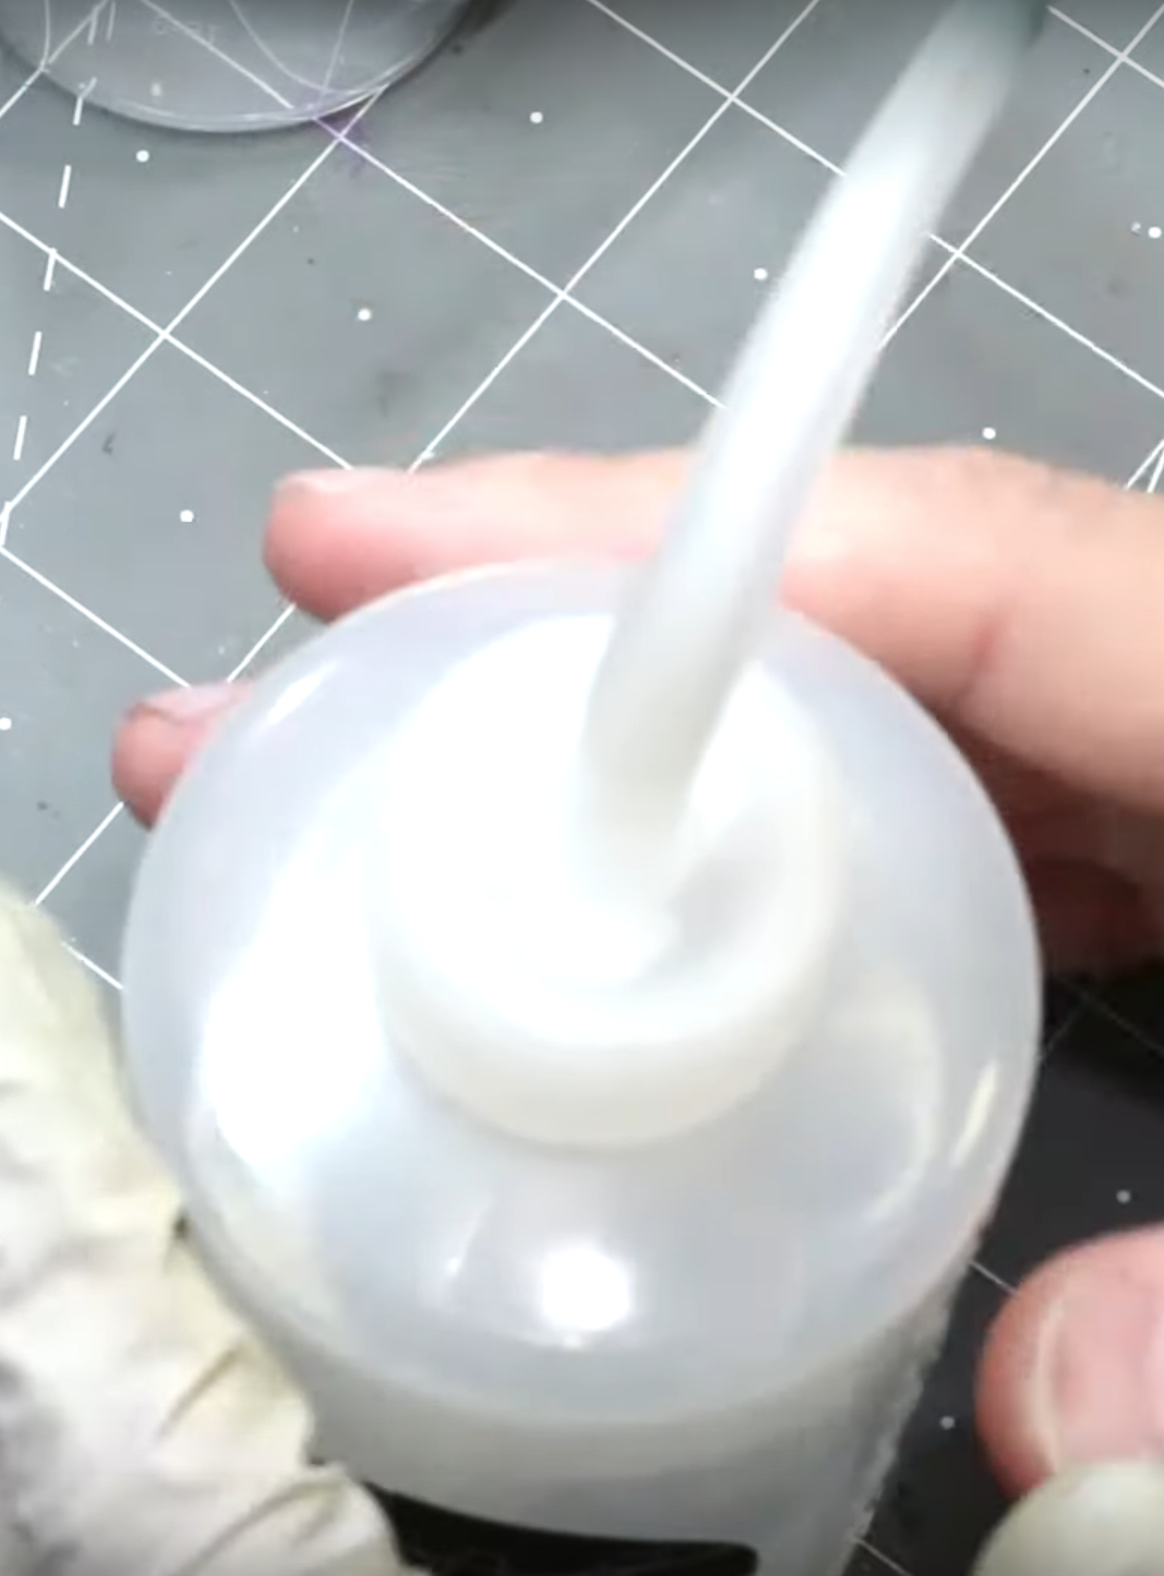
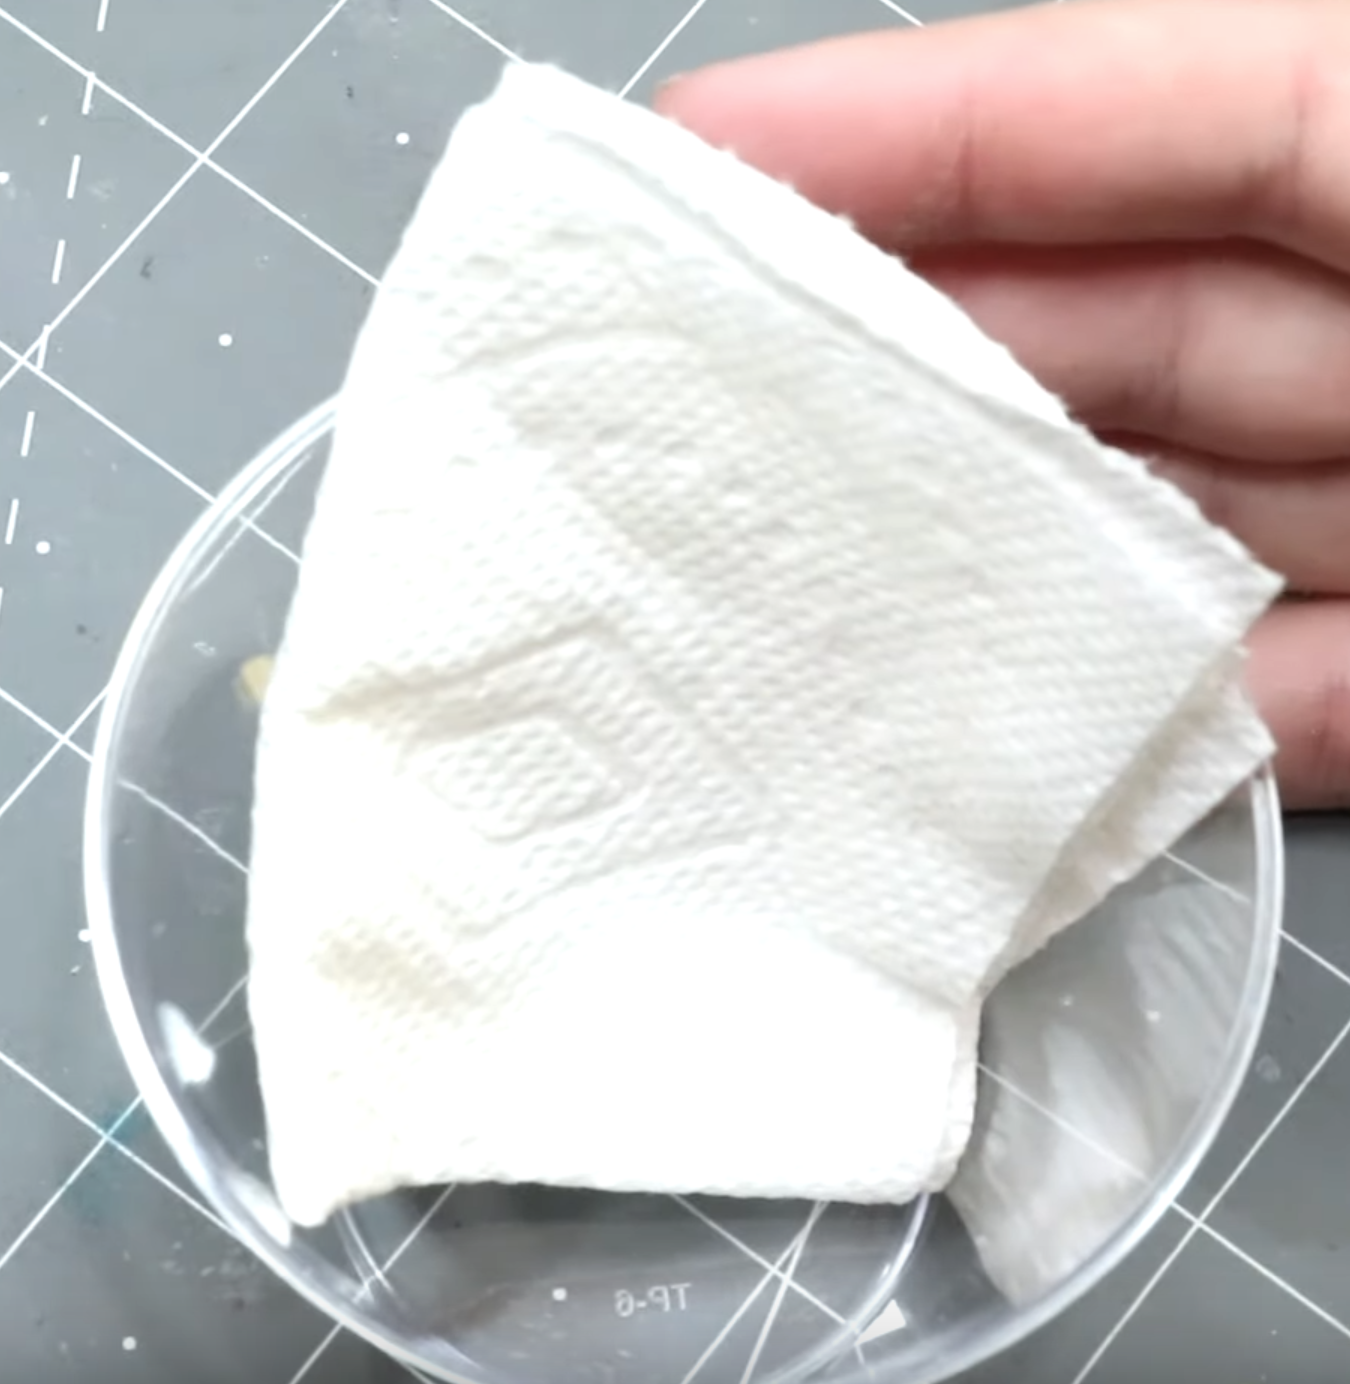
- Plastic cup with a paper towel
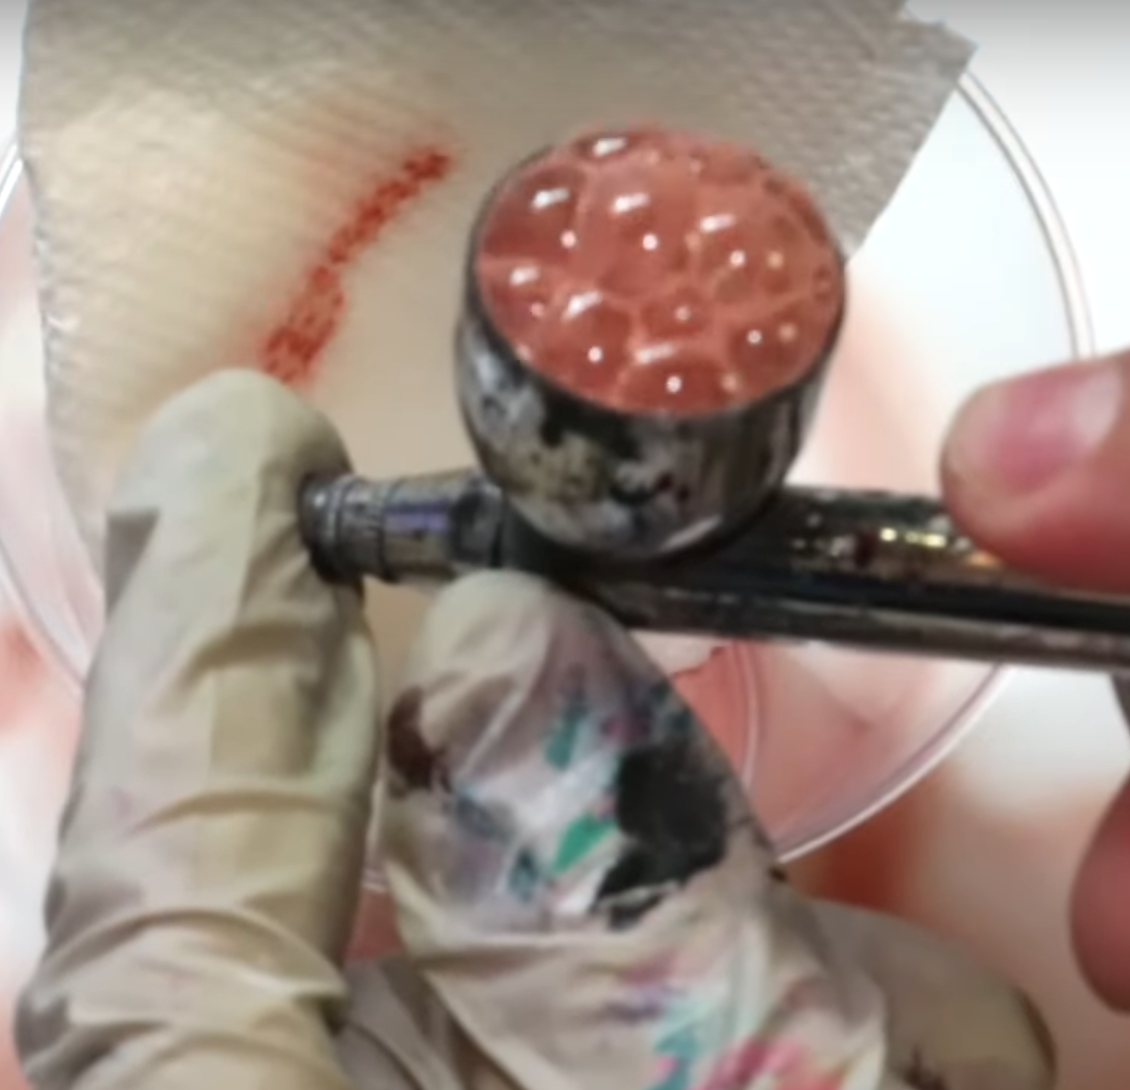
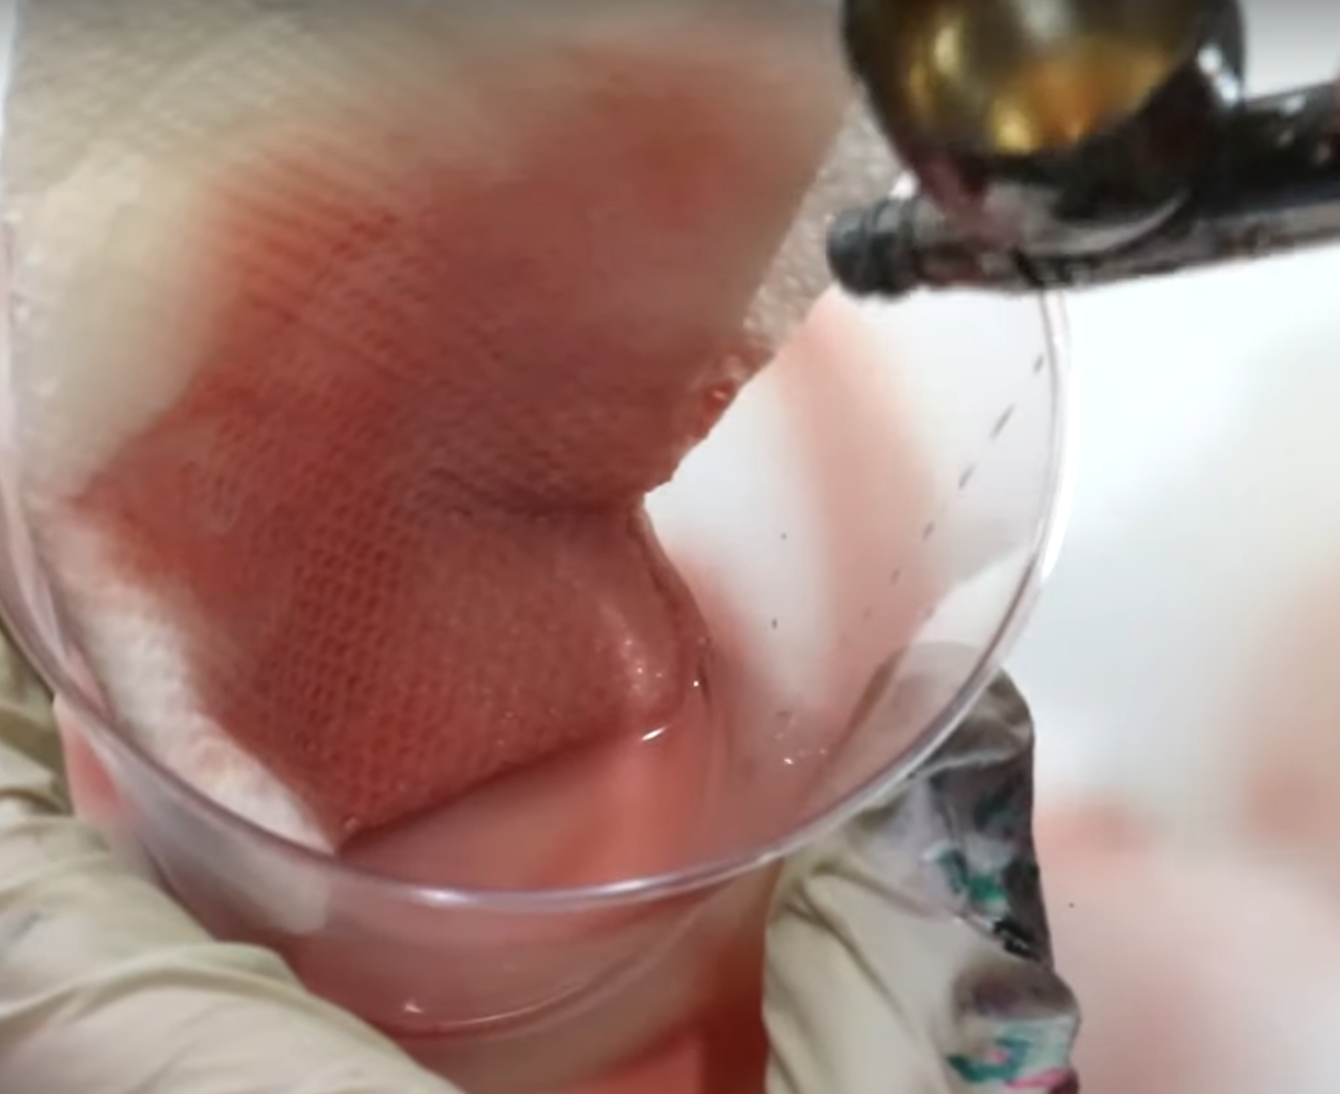
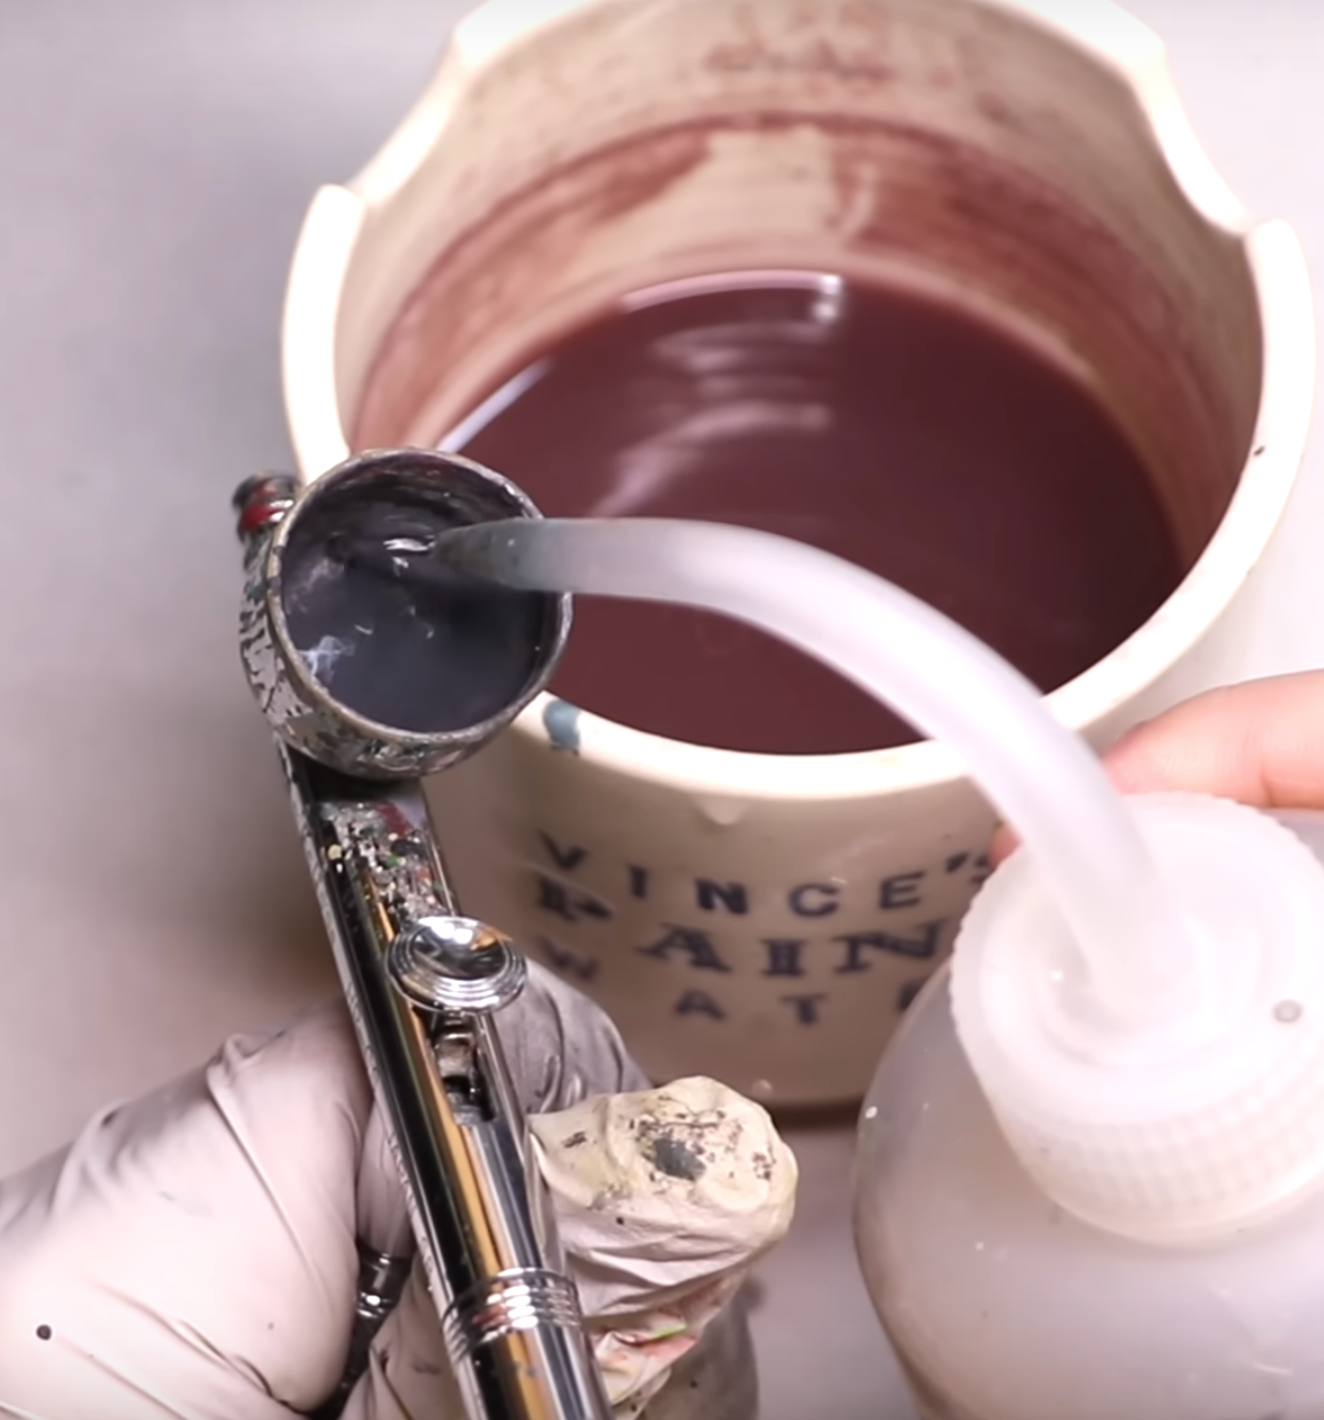
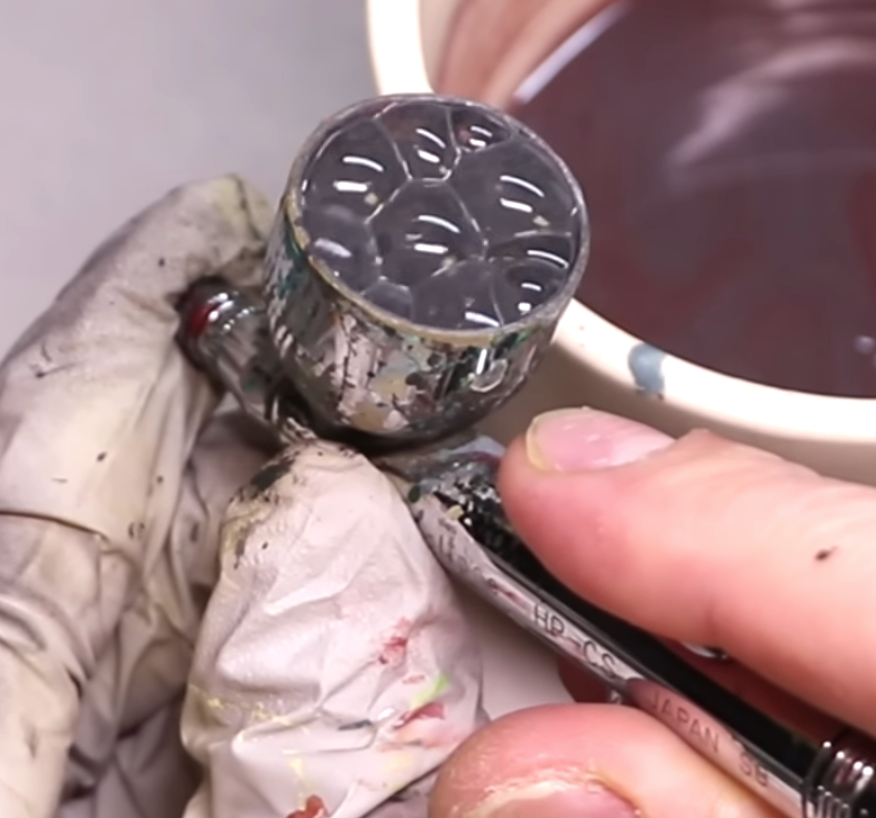
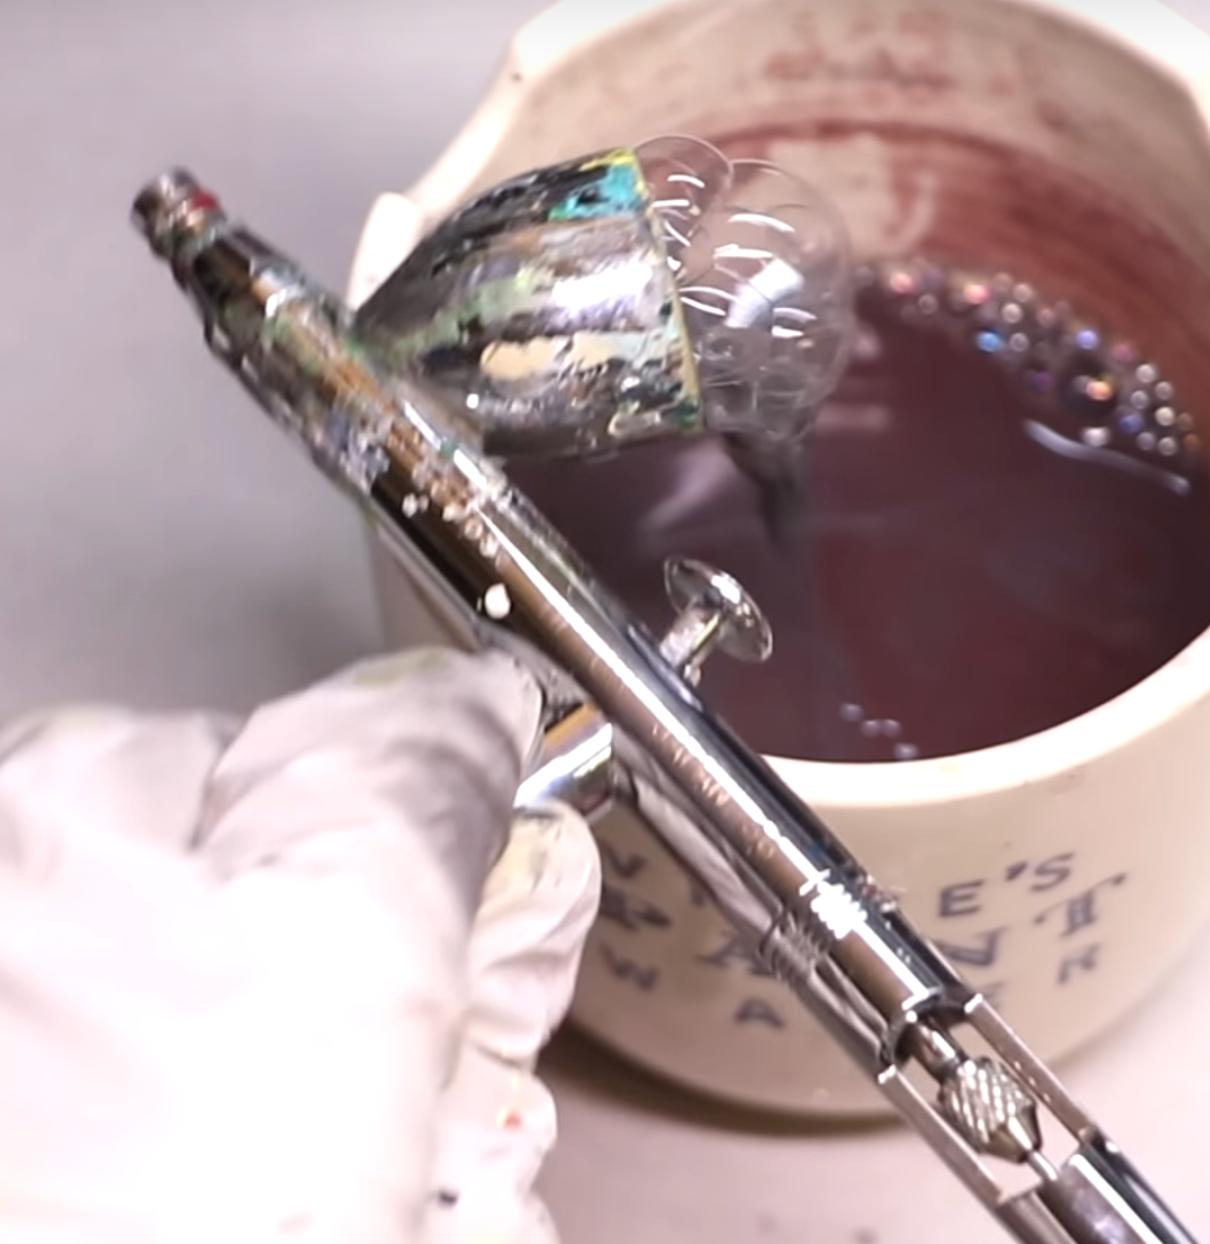
Quick Clean
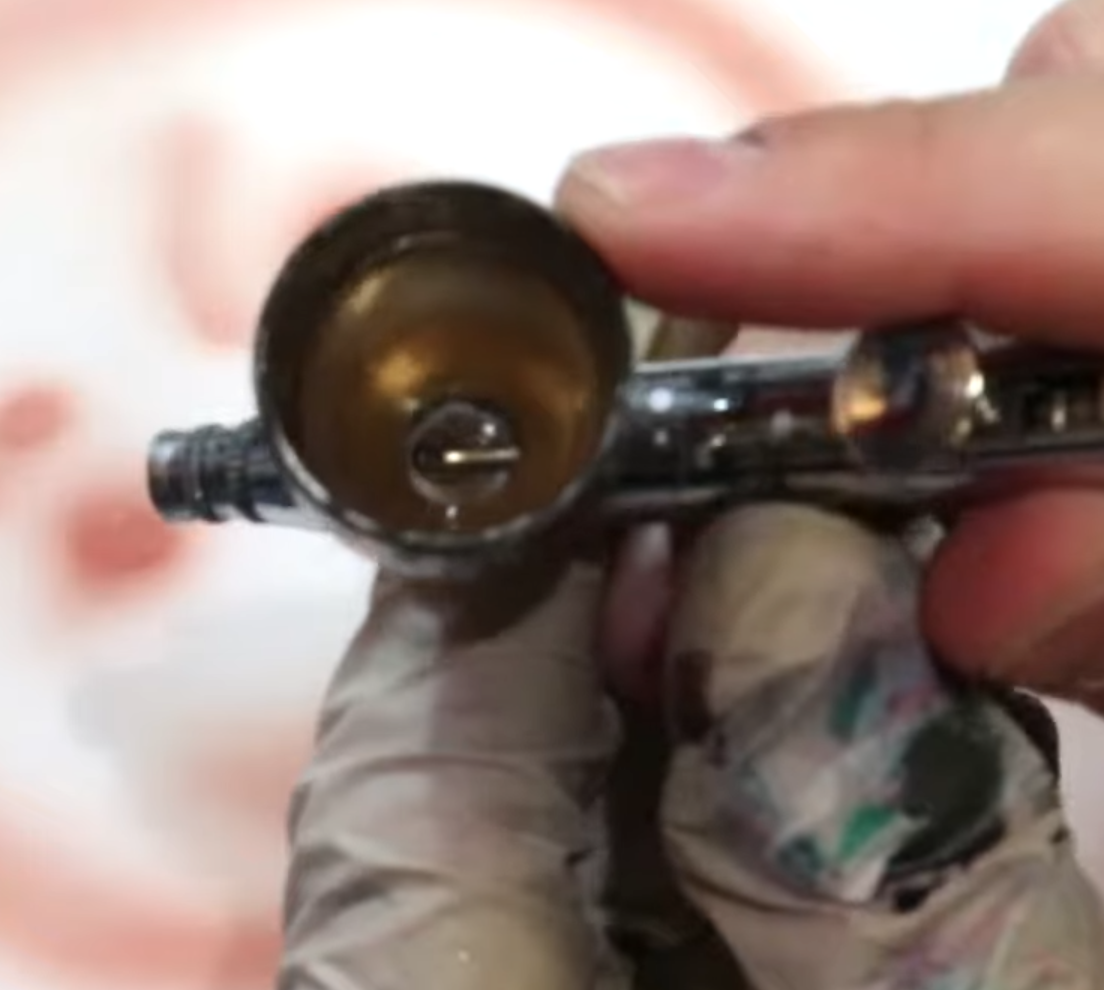
- Fill up your fluid cup with “cleaner”


- Back flow the air and make it bubble
- Spill the contents into the fluid cup
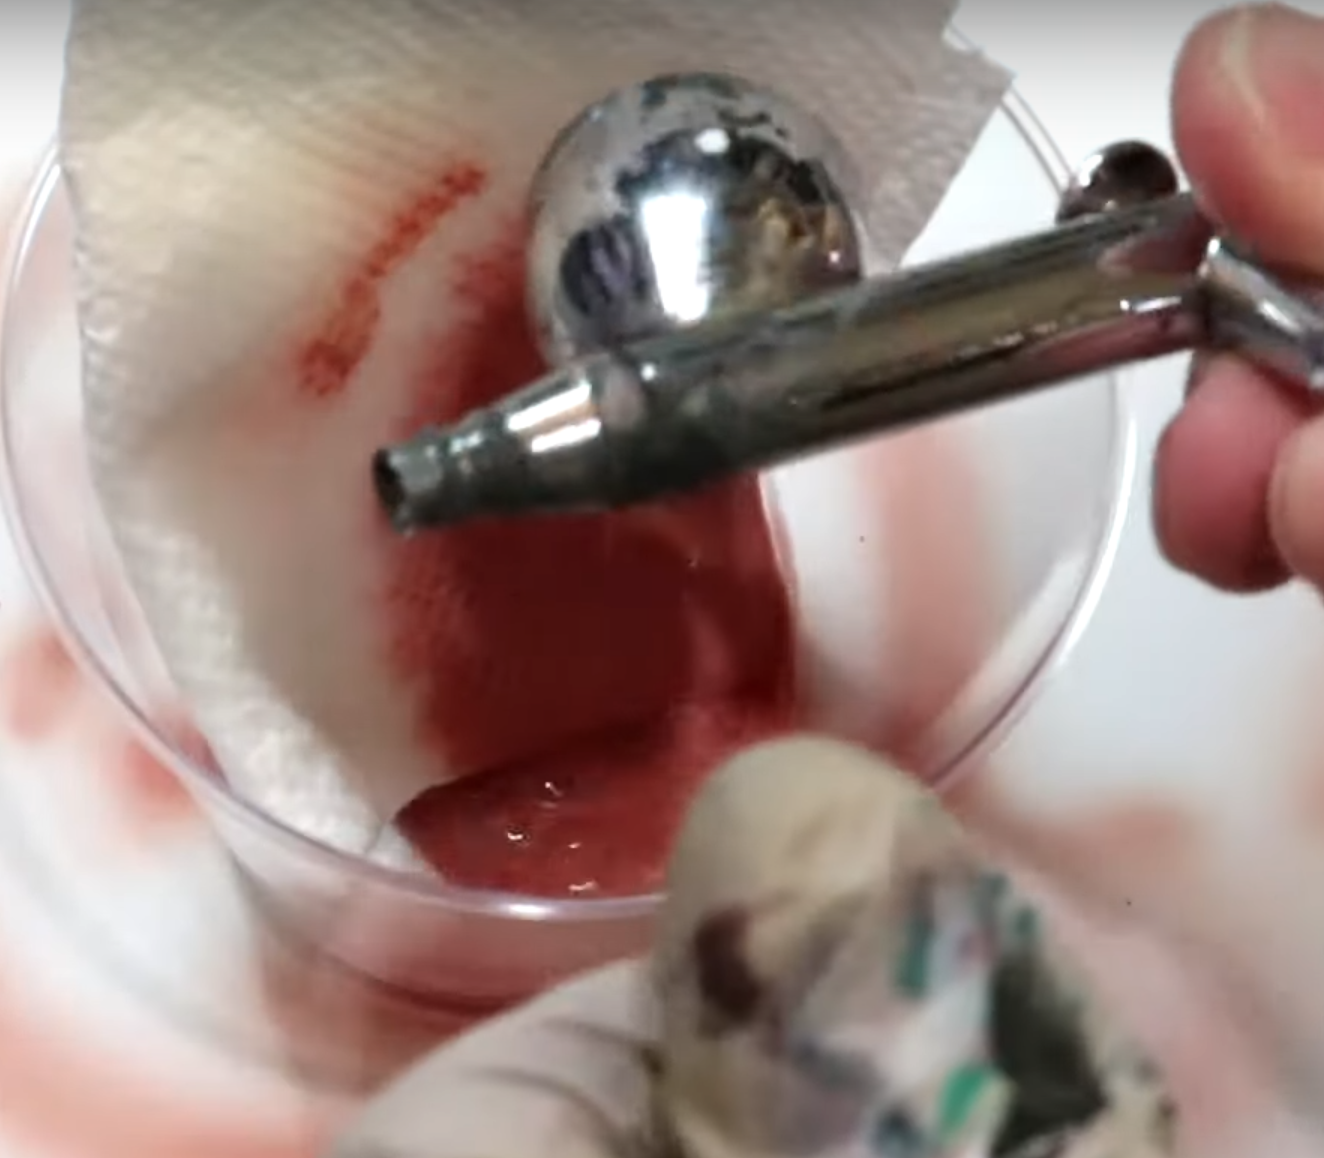
Alternatively, if you don’t want to tilt and spill your fluid cup, you can use a pipette. The pipette is a safer choice if you’re working with a thicker liquid to really get it all out.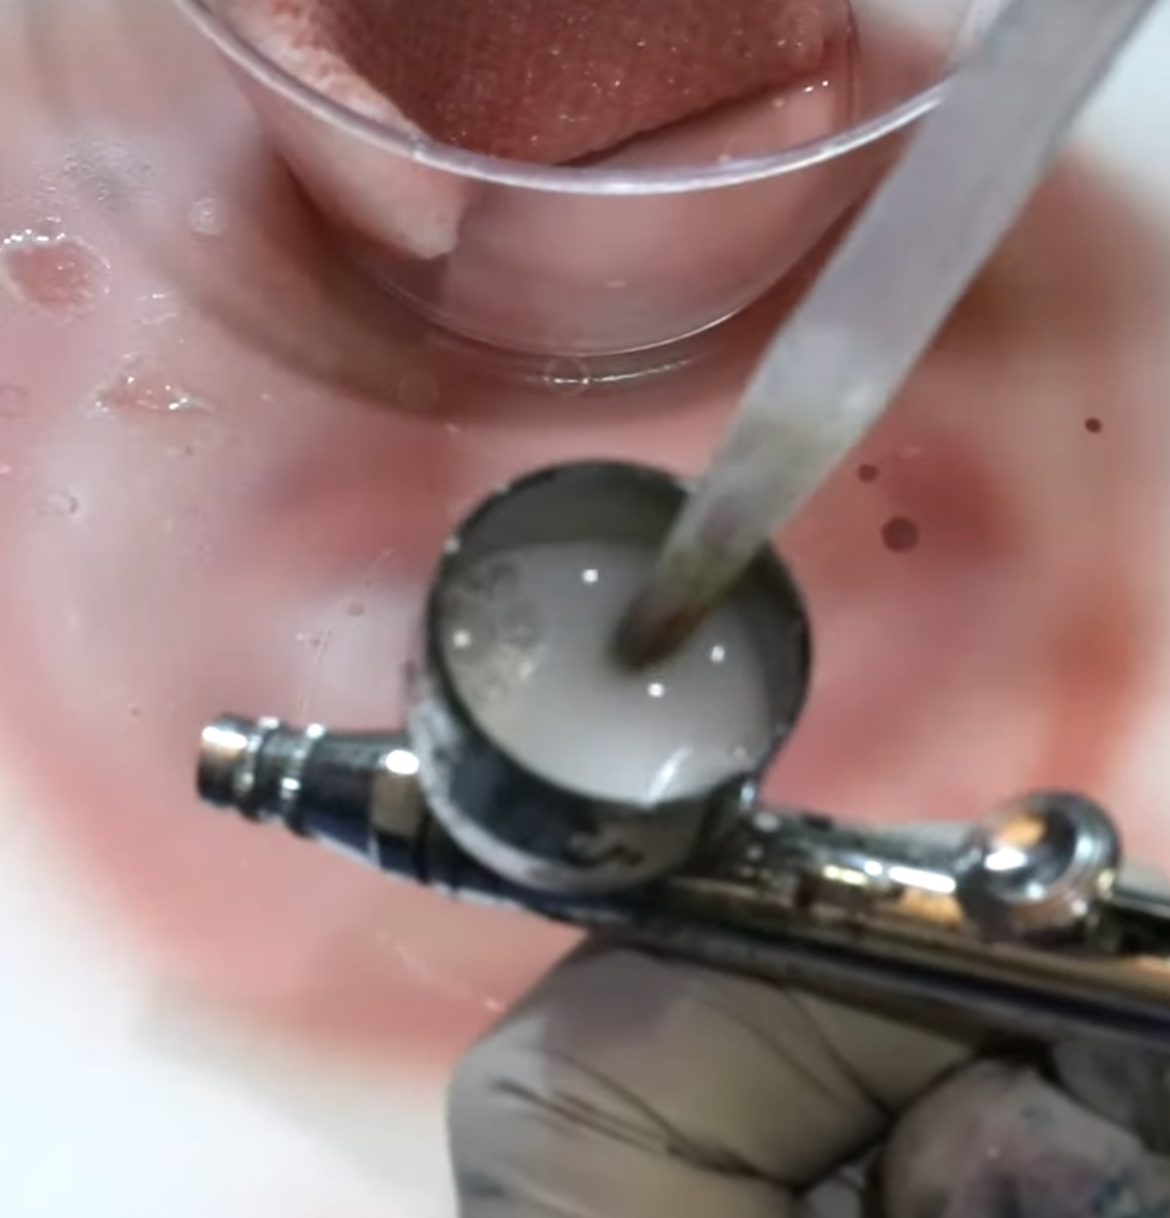
- Repeat steps 1 through 3
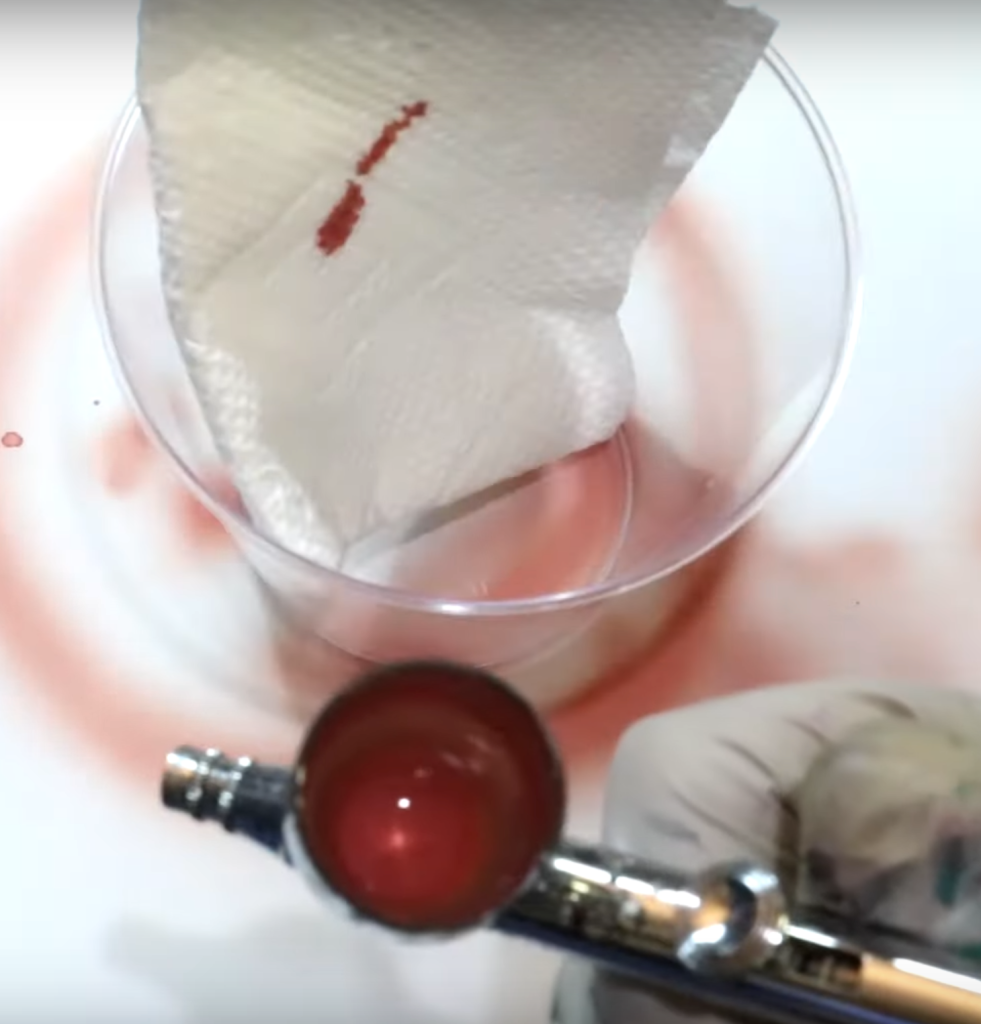
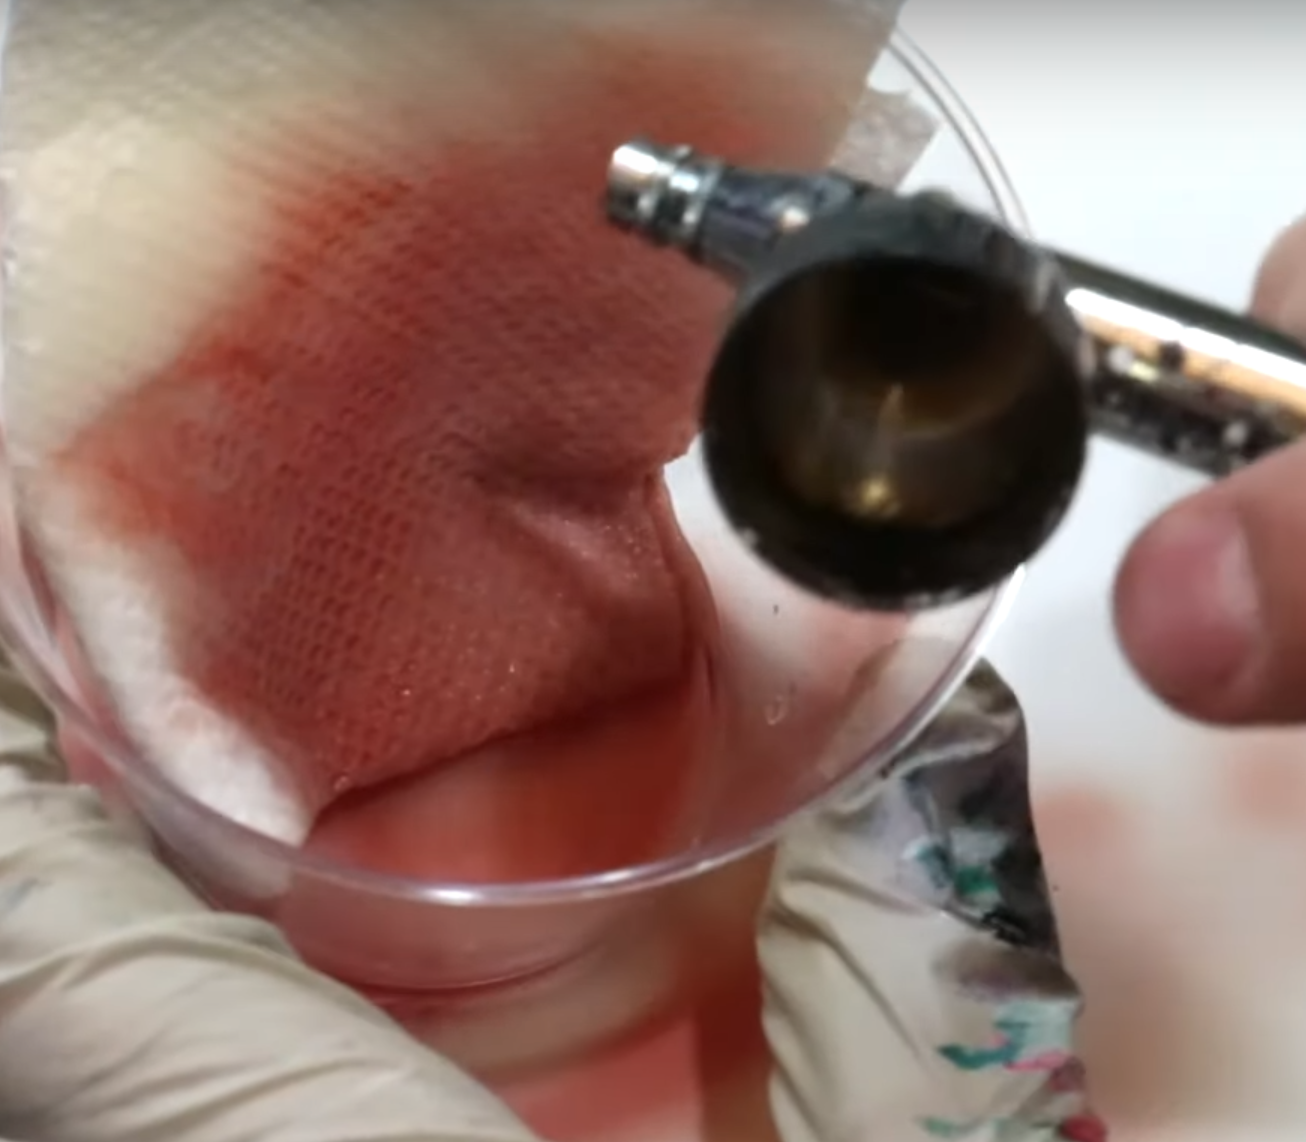
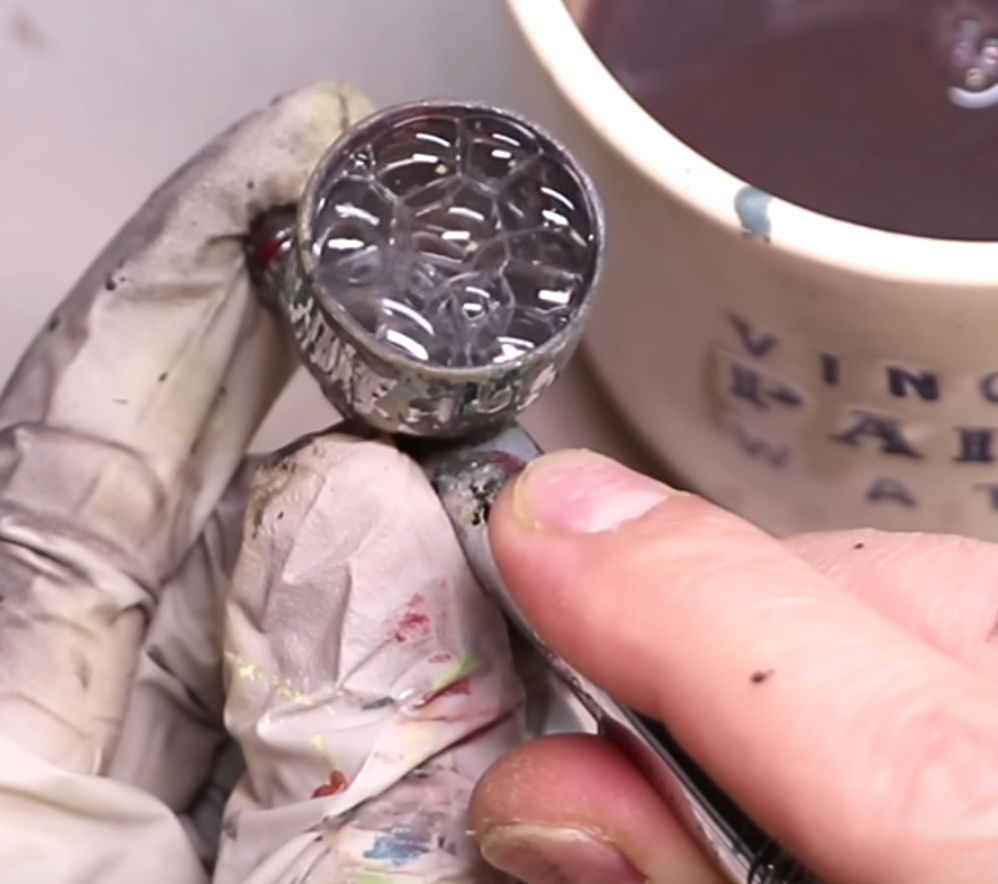
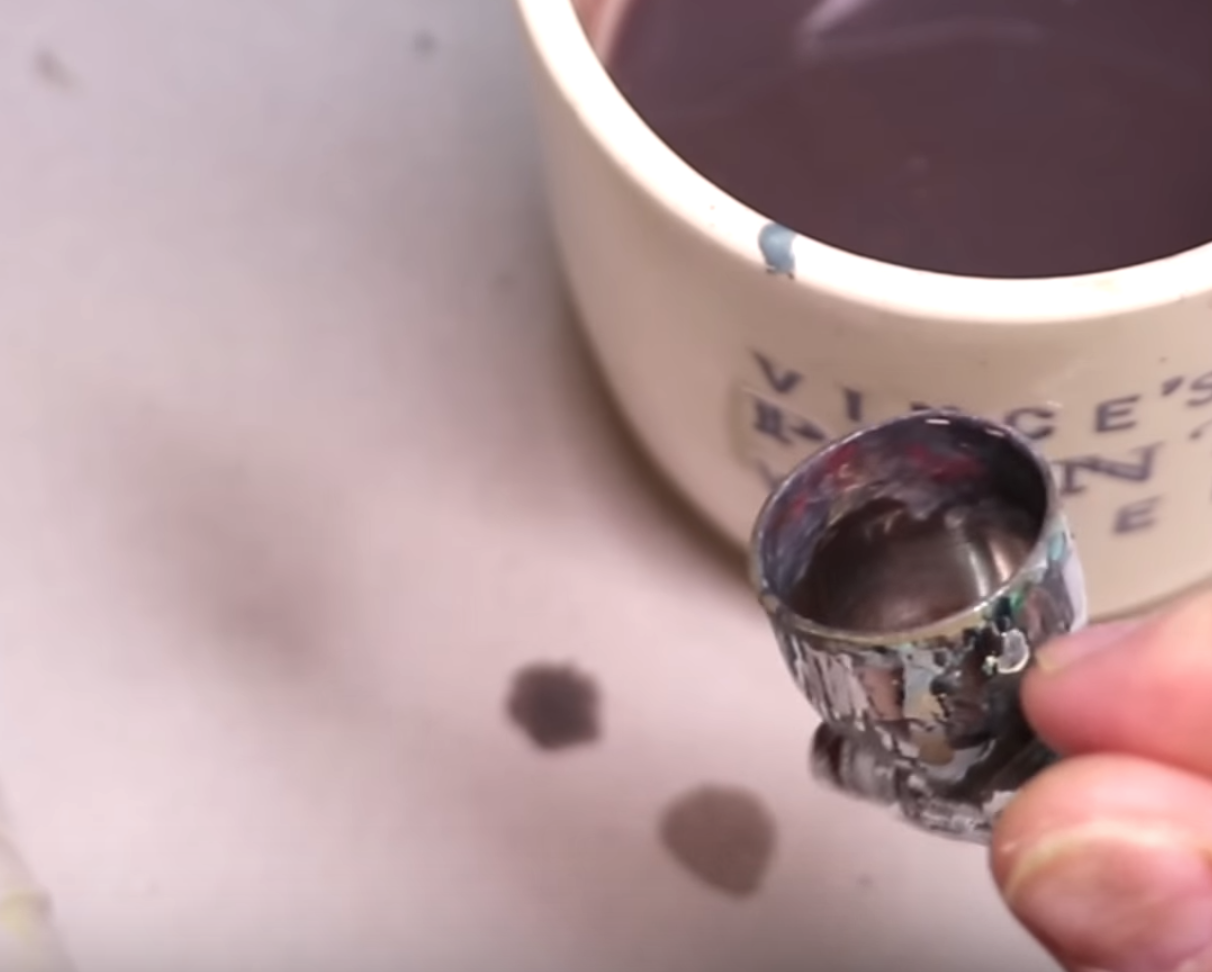
- There will be residual water left in the fluid cup. Blow this water out against the paper towel (it should look clear). The only thing that goes out the front tip ever in this process is the water.
- Visual inspection confirms it is clean. If you need to, use your fingers to scrape from inside out to remove any dried paint around the fluid cup (you don’t want that falling in).
End of the Day Cleaning
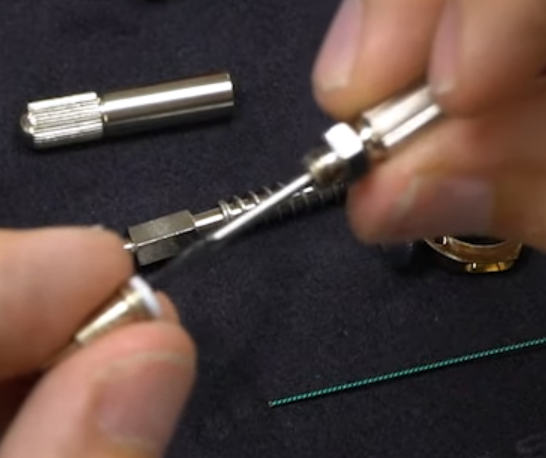
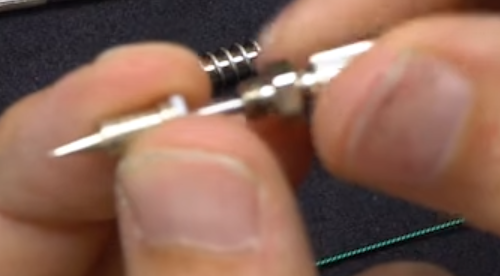
- Unscrew the handle and CAREFULLY take out the needle
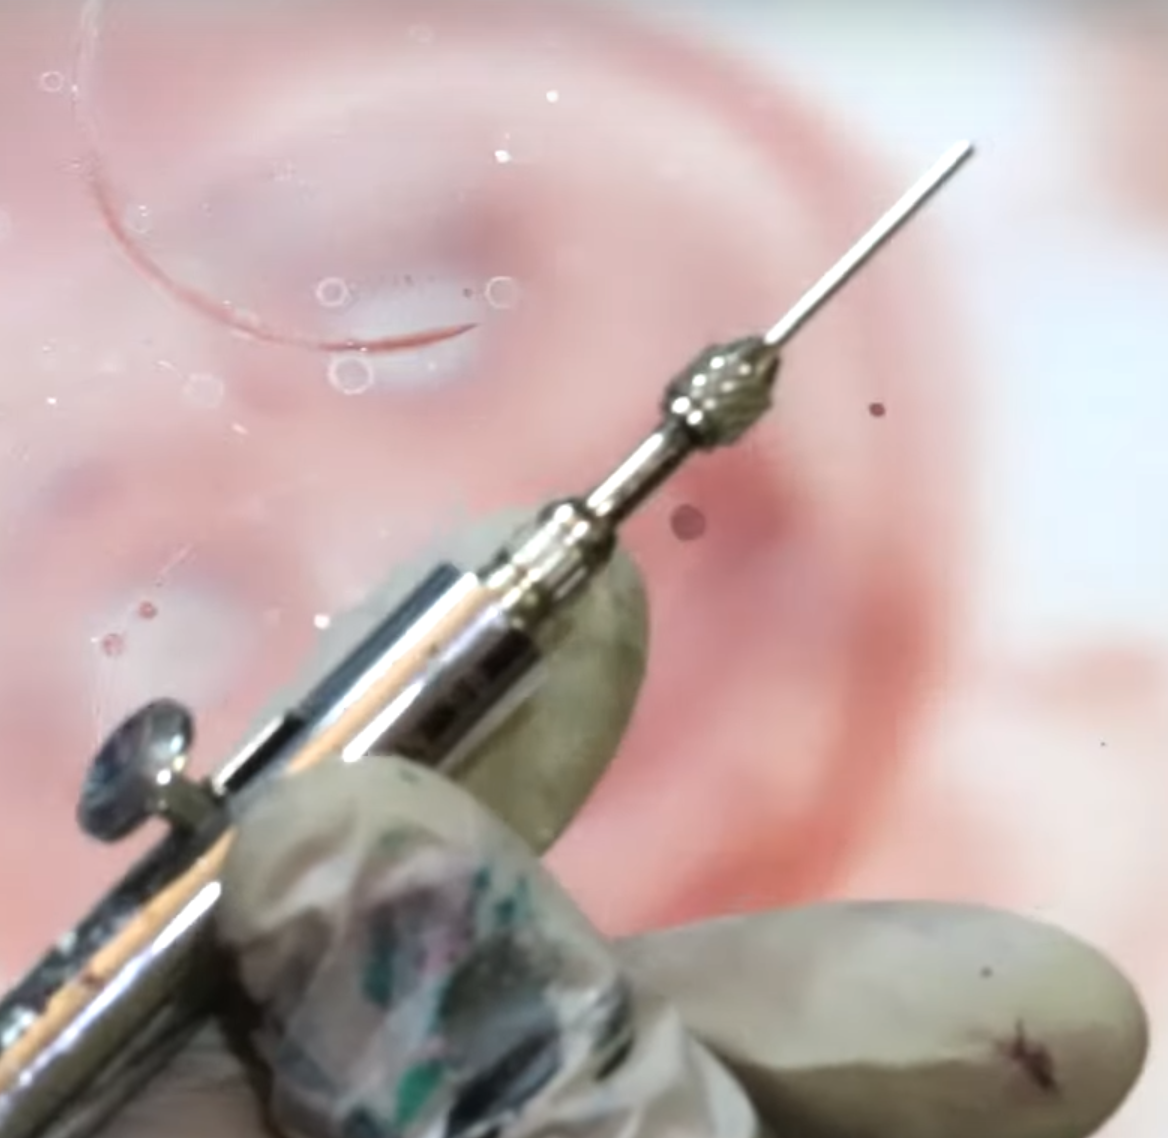
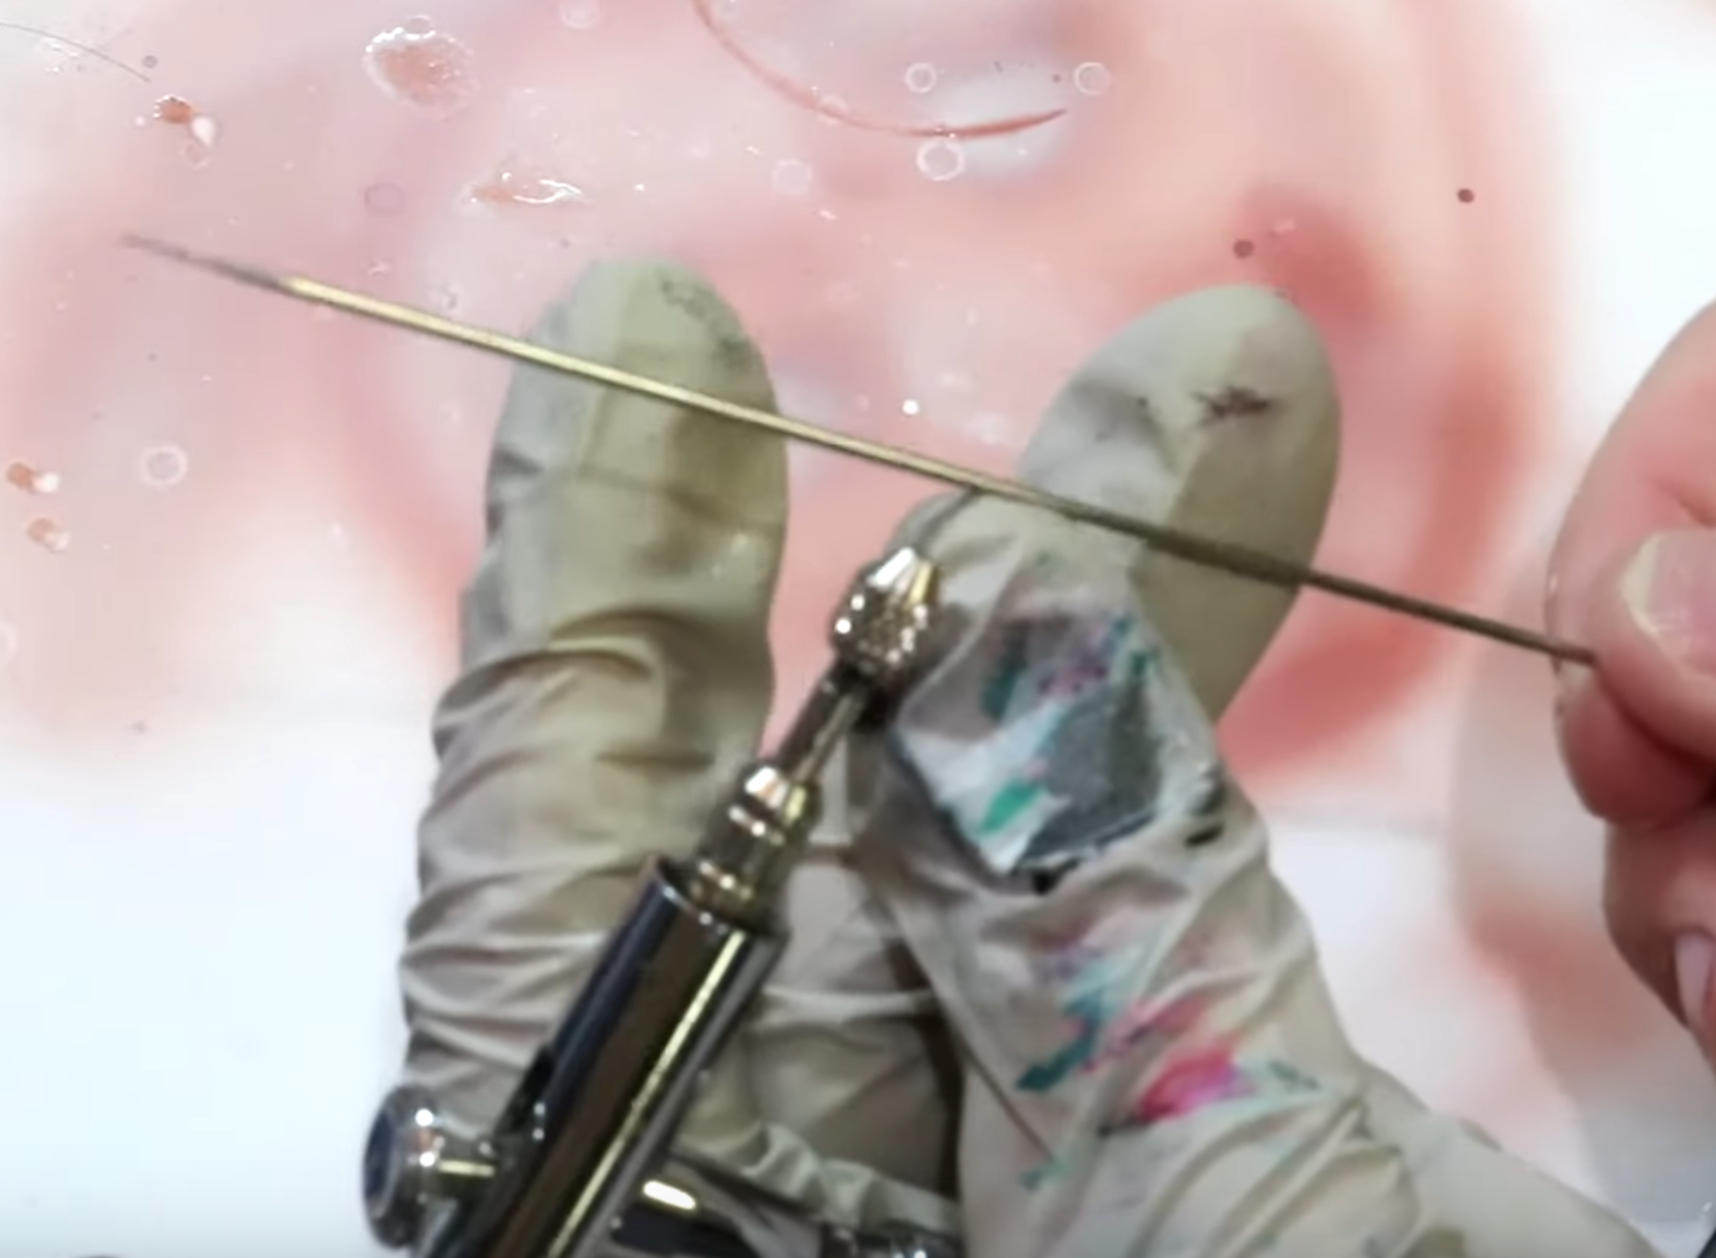
- Stroke in 1 direction from base to tip to get rid of anything on the needle. Do NOT go tip to base or back & forth (this can puncture you or bend the needle).
- Slide the needle gently back into the airbrush and reassemble the airbrush


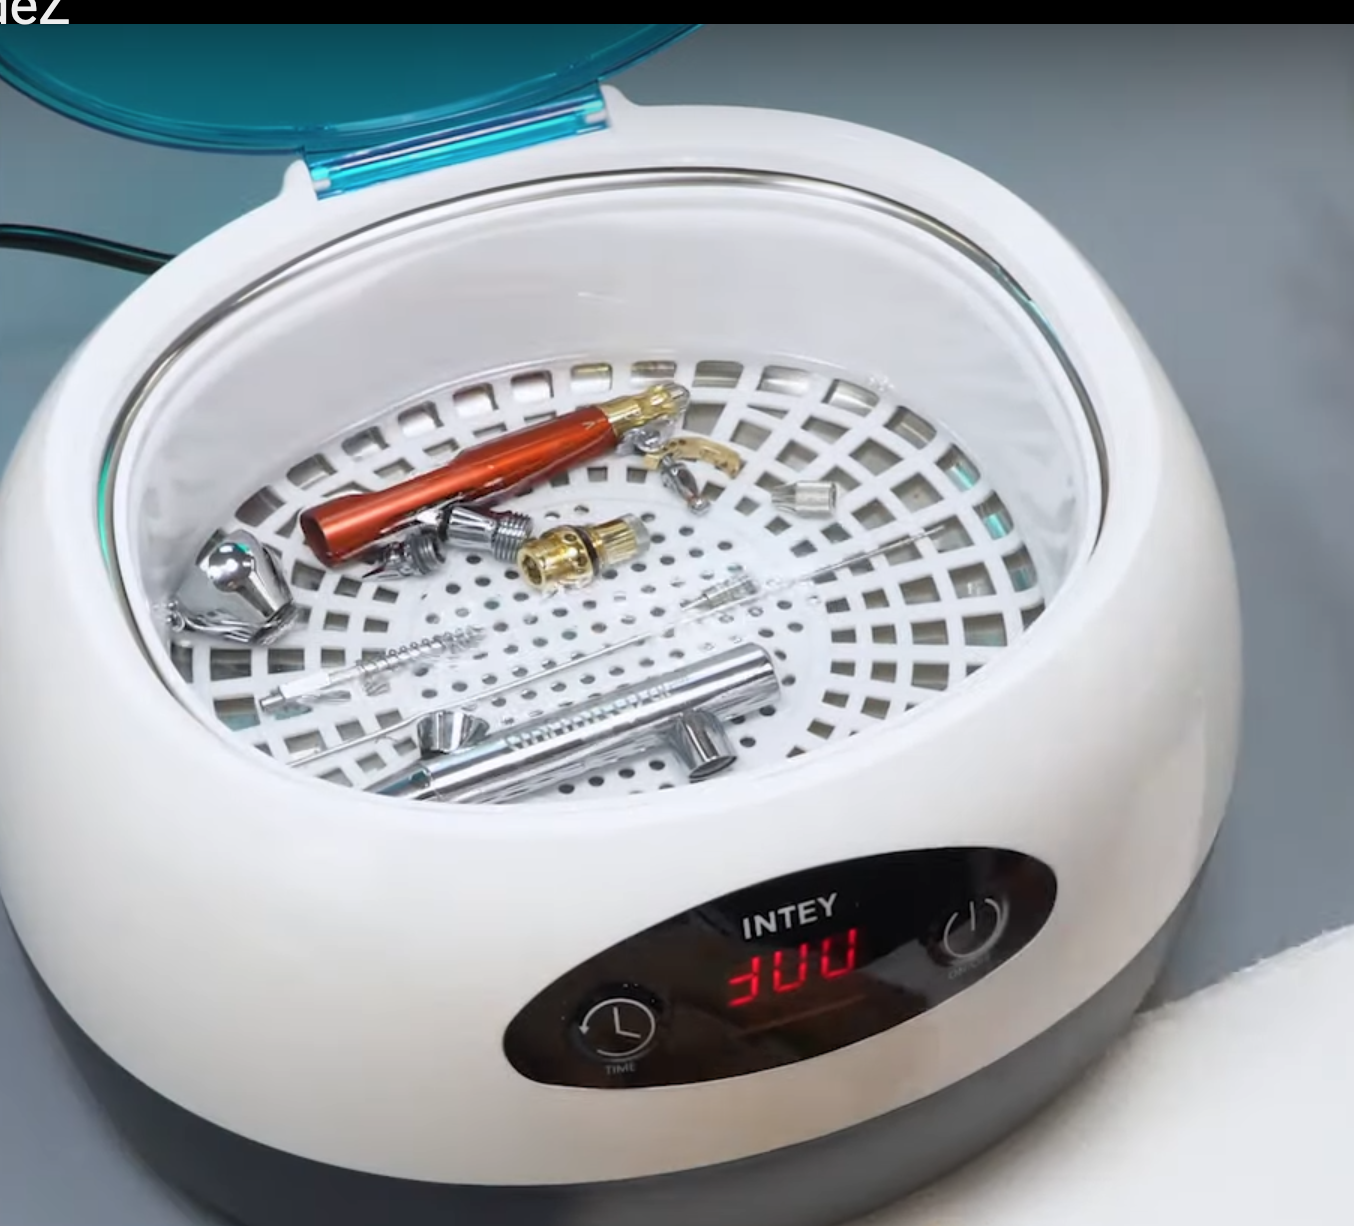
Deep Cleaning with Ultrasonic Cleaner
Fill your ultrasonic cleaner with either pure airbrush cleaner (best clean) or you can mix it with distilled water. This fluid used during your cleaning session can be reused in future cleaning sessions until it becomes too dirty. This reuse approach helps keep costs down.
| Do NOT use the following in your ultrasonic cleaner: * Alcohol – damages the airbrush seals * Tap or Filtered water – contains mineral deposits, bacteria, & chemicals which can clog or damage your brush and/or impact performance. |
This specific process is copied from Angel Giraldez in his tutorial video found here.
- Do your Quick Clean
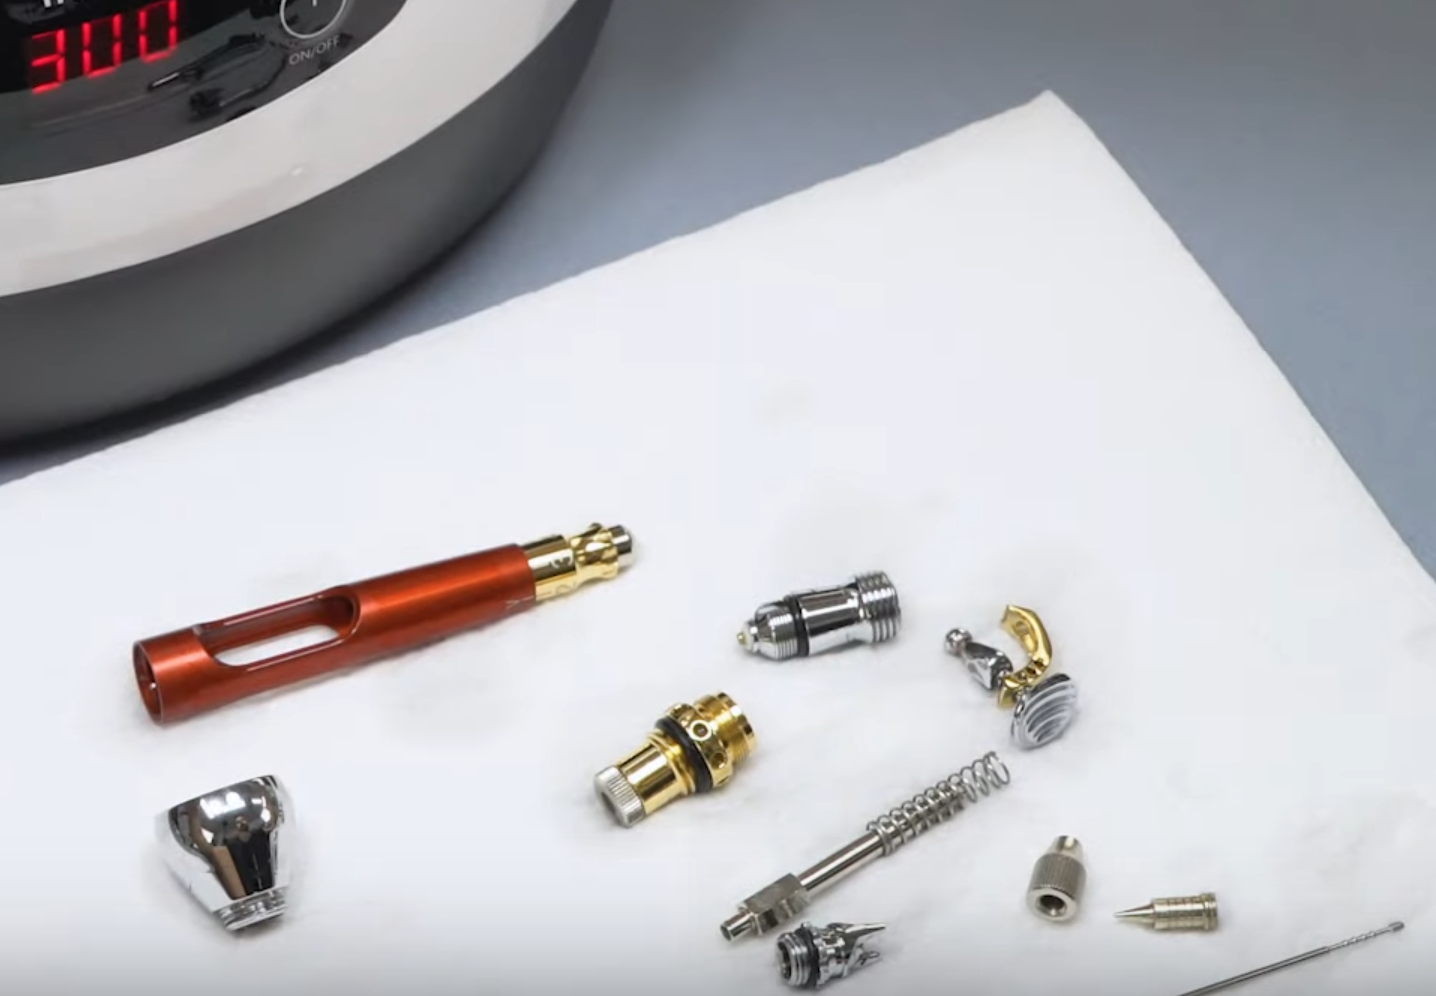
- Disassemble the airbrush into components. Pay close attention to the trigger position (take a picture on your phone if doing this the first time for reference). Orientation will matter later on.

- Put the airbrush components in the ultrasonic cleaner and run for at least 3 minutes.
- Inspect the parts and don’t be alarmed if the fluid turns cloudy (that just means it was able to dislodge paint and grime).

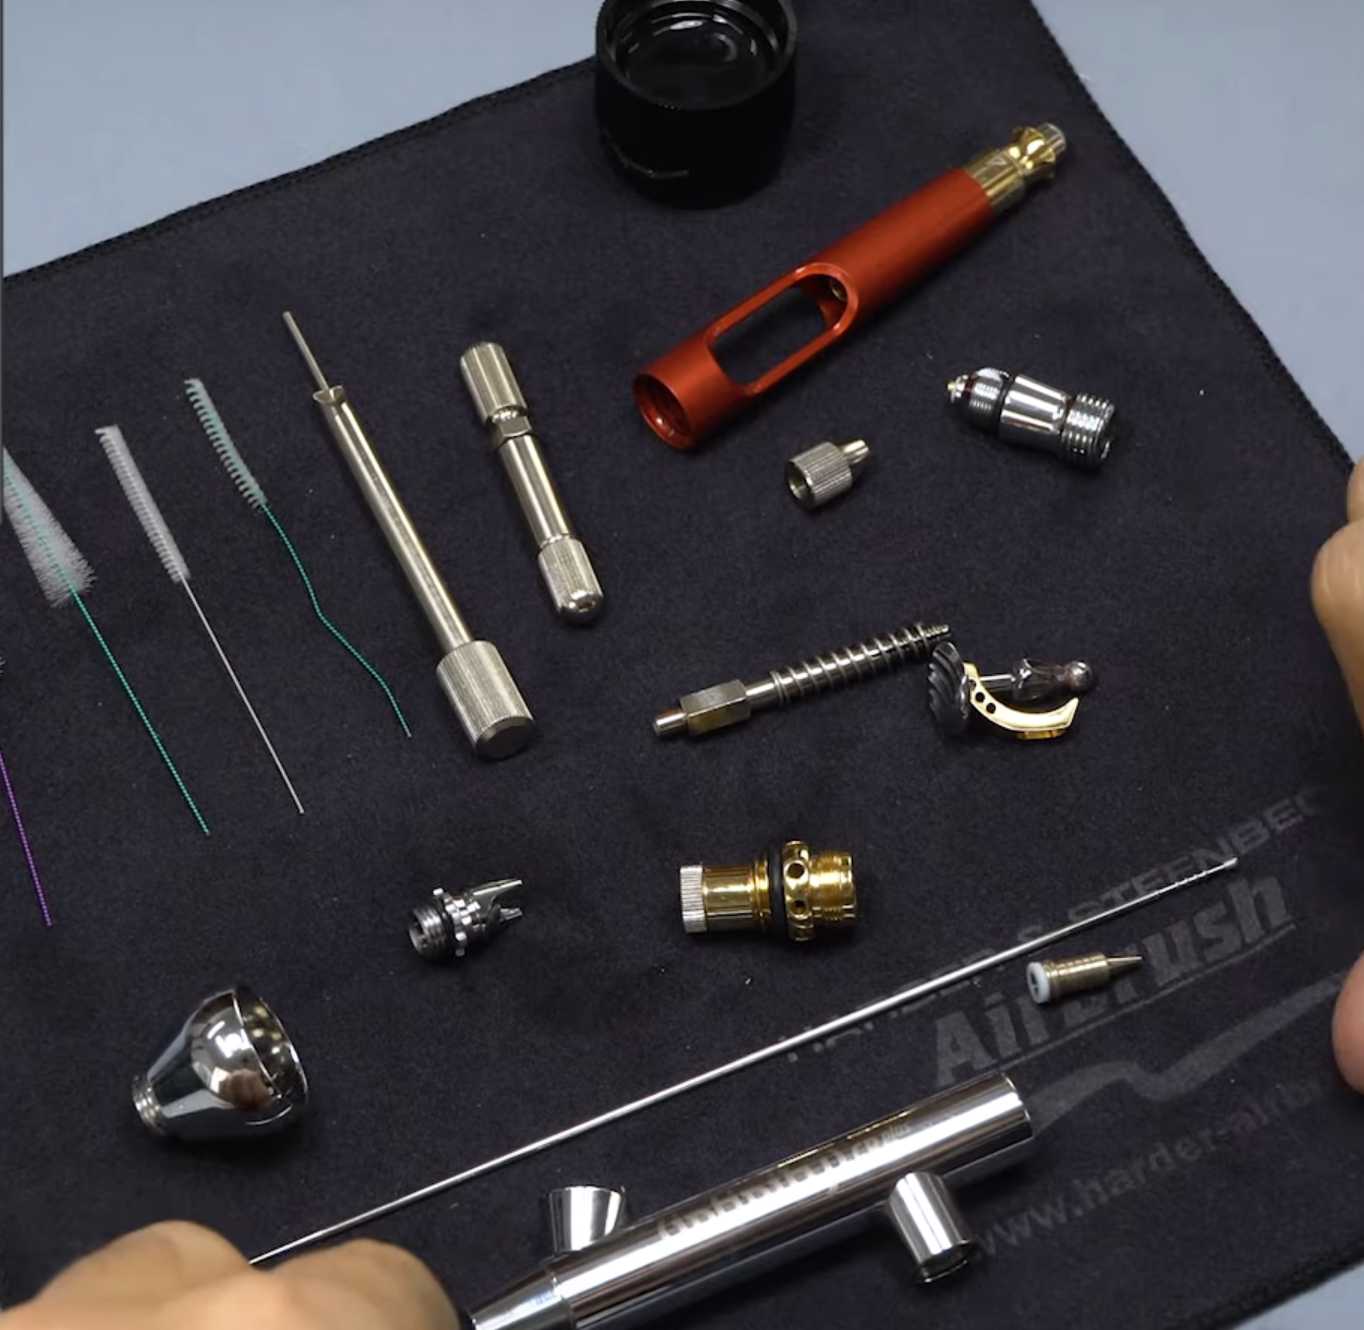
- Place each of the components on a paper towel and let the paper towel absorb the fluid.
- Once dry, transfer the parts onto a clean and dry surface. A mat is shown in the example below.
- Check for any residual/dry paint in any of the parts
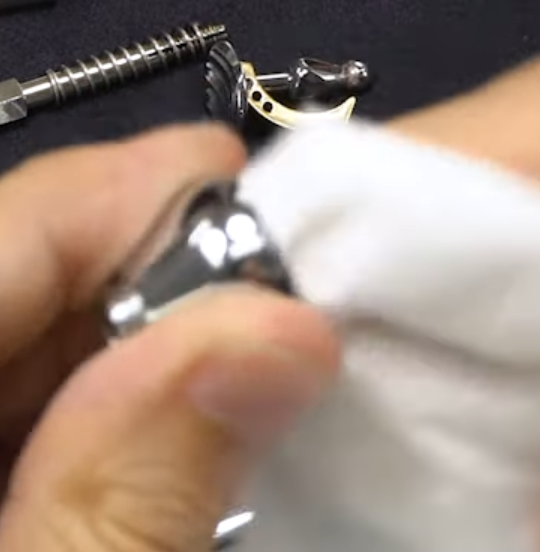
- wipe the fluid cup
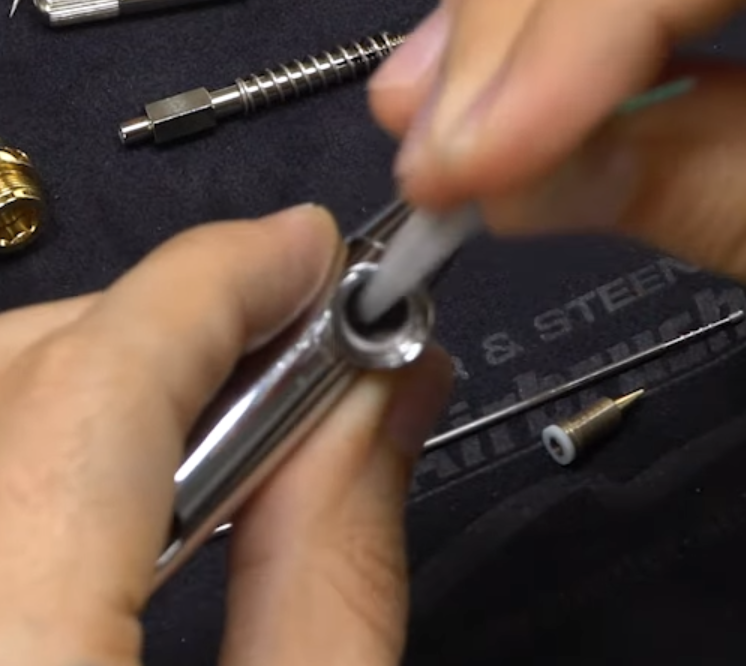
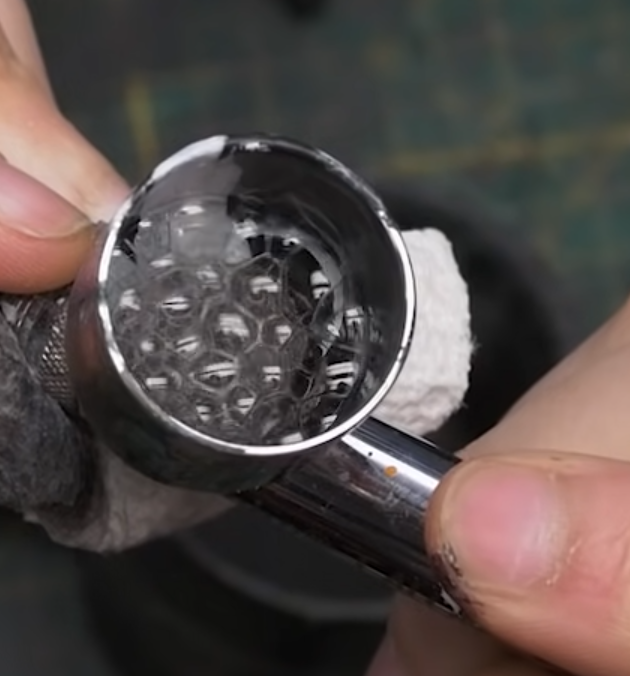
- Use airbrush cleaning brush to scrub the various holes of the main body
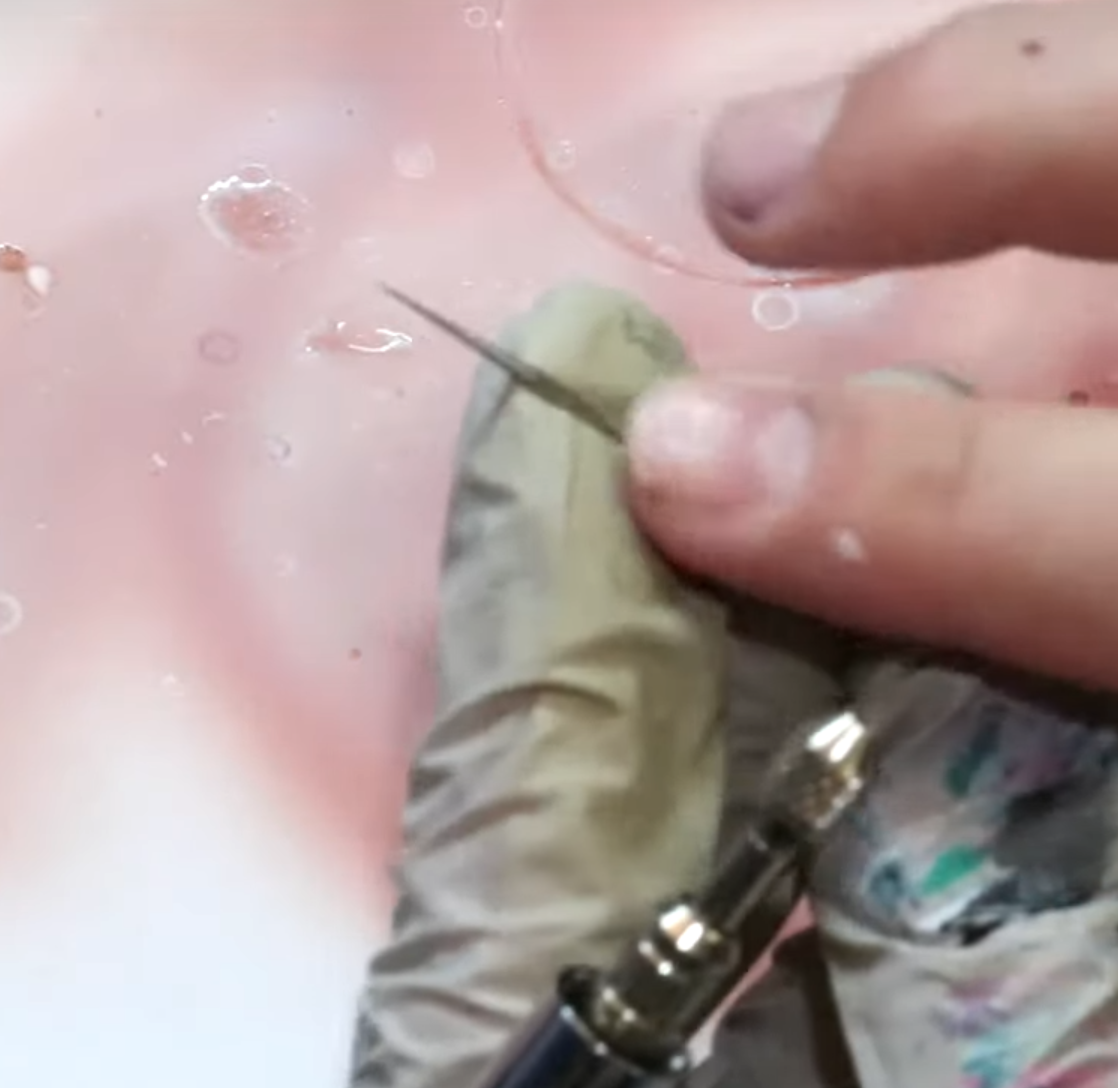
- clean the nozzle with the small, sharp wedge. Gently place it in and lightly twist. You’re scraping of paint that will want to come off, and you don’t want to damage the delicate nozzle by accidentally scratching it.
- wipe the fluid cup
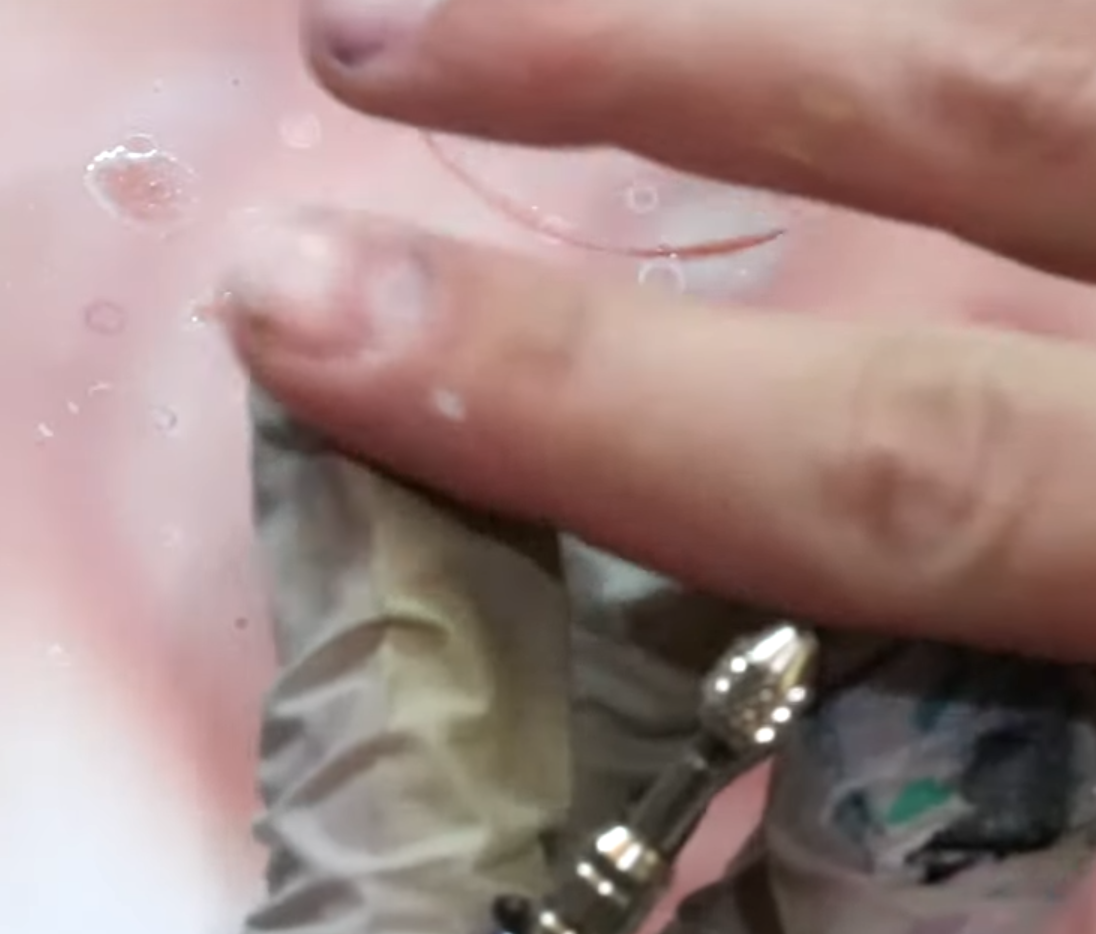
- Reassemble the airbrush. Pay close attention to the trigger position when restoring.Test the airbrush out and see if any paint comes out.
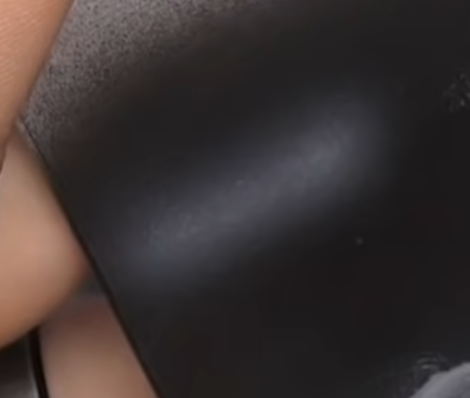
- In this example when spray at our hand we can see paint
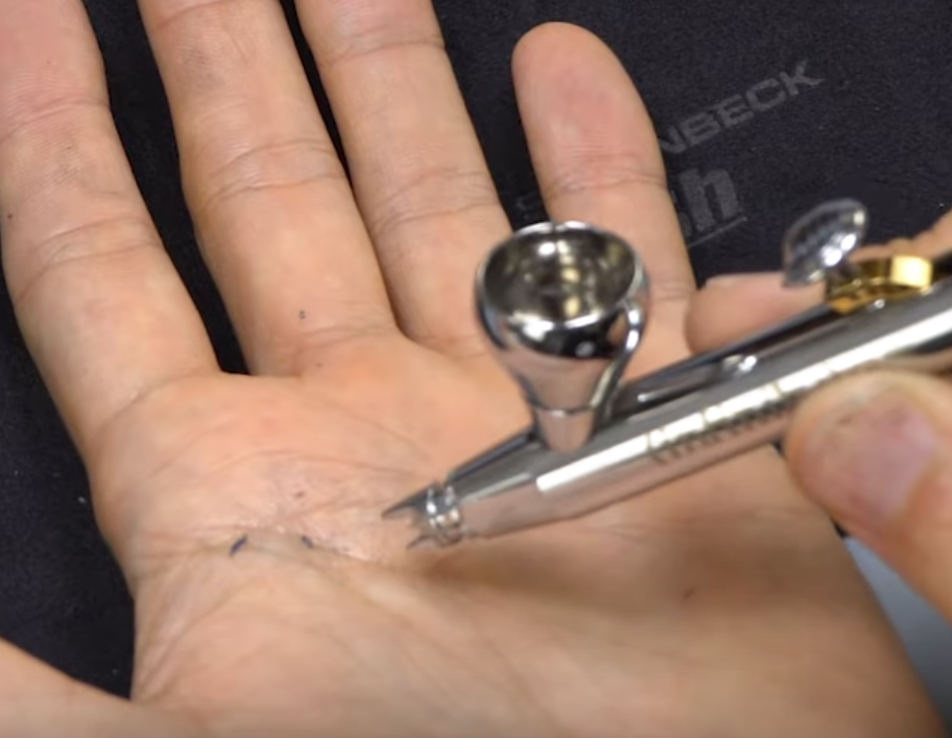
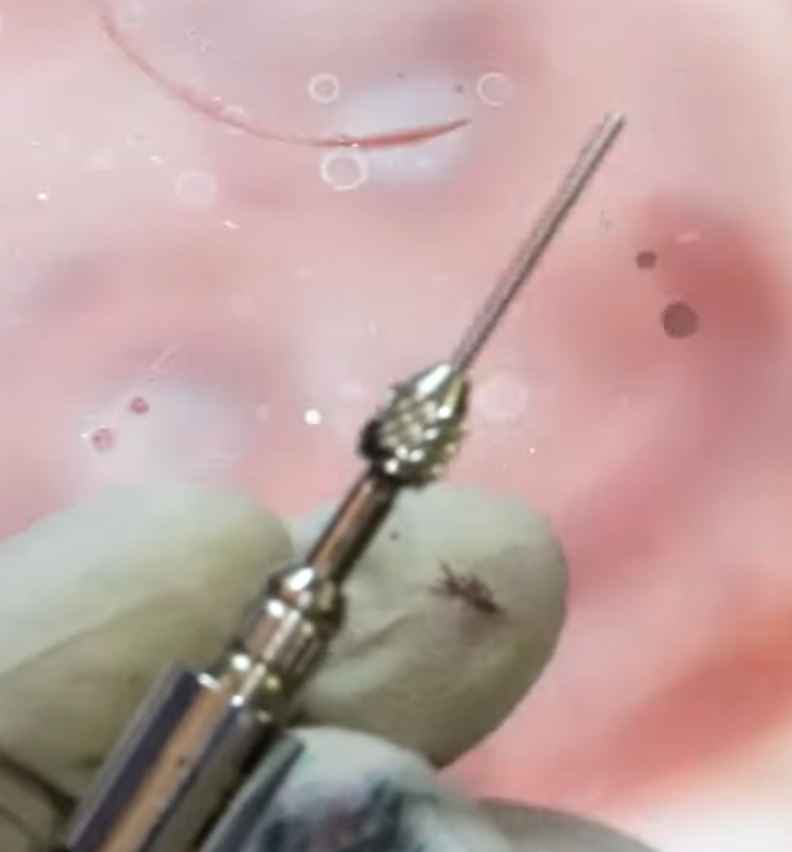
- In this case we have some paint from the needle cap. This can be gently cleaned with a fine brush dipped into airbrush cleaner

- In this example when spray at our hand we can see paint
IPA Cleaning After Priming or Varnish
After priming or using a varnish you will need to use 90% or higher isopropyl alcohol, IPA. The higher the percentage the better the clean; this will help prevent issues. It’s recommended you clean your airbrush every 2 minutes when priming (regardless of batch priming). This prevents paint drying up and flaking into the mechanism. The process described below takes approximately 20 to 30 seconds to successfully clean your airbrush.
Big thanks to Vince Venturella for sharing this guidance and the flow below in his Hobby Cheating video.
- Fill the fluid cup with distilled water (NOT filtered or tap) .
- Back pressure
- Dump the fluid cup. Do NOT blow it through the front
- Add 8 drops of 99% IPA to the fluid cup. If you were using white primer, add a couple more extra drops.

- Stir the 99% IPA with a hairs of brush. Do NOT push the ferrule (metal) onto the airbrush parts (this will damage your delicate airbrush). The brush is intended to dislodge any dried materials.
- Fill the fluid cup with distilled water (NOT filtered or tap).
- Back pressure
- Dump the fluids
- Repeat steps 4 through 8 until the bubbles in the back pressure are clear. In general, 2 to 3 cycles of steps 4 to 8 will achieve the clear bubbles we’re looking for.
- Spray the residual fluid out the front and you’re done!!!
Using Your Airbrush
Thinning “Sauce”
Don Suratos uses the term Thinning Sauce, which I’m using here to refer to the custom mixture of products for the purpose of priming/painting through the airbrush.
In general there’s 2 fluids used when airbrushing to help allow your paint/primer to go through the nozzle and behave as expected.
- Retarder – this makes paint take longer to dry. This is particularly helpful to prevent this extremely thin paint from drying at the tip of the airbrush and clogging. Vallejo’s product for this is called Airbrush Flow Improver.
- Airbrush Medium – this makes your paint “thin” enough to go through the airbrush without reducing the paint’s ability to bond to the miniature. Supposedly Vallejo uses butyl glycol, which is an alcohol in their medium (which is named Airbrush Thinner).
Unfortunately, there is no single Thinning Sauce ratio that everyone uses. Different artists have different tools, skills, preferences, and locations which all influence their ratios. I’ve tried capturing some artists who’s styles I enjoy and have publicly shared their Thinning Sauce ratios in the table below. I will continue to add to this table over time.
This table below is meant to be read as follows:
ie. Vince’s 4 Thinner Ratio and 1 Flow Improver Ratio (4:1) is in parts/drops. For every 4 drops of Thinner, add 1 drop of Flow Improver.
| Flow Improver is a retarder, which means it makes the paint take longer to dry. In dry climates you will need more; in colder/wet climates you will need less. |
| Artist | Vallejo Airbrush Thinner Ratio | Vallejo Flow Improver Ratio | Context |
|---|---|---|---|
| Vince Venturella | 4 | 1 | @ 18 to 20 PSI ~30% to 50% Humidity |
| Don Suratos | 2 | 1 | Hobby Mate .5 or H&S Infinity .15, @ 15 to 20 PSI ~75% Humidity |
Priming
The purpose of priming a miniature is to provide a surface that the paint can better adhere to (both for spraying on and staying on). Paint doesn’t stick well to plastic or resin and can easily rub off if a primer isn’t used.
Youtuber Recommended Primers
- Vince Venturella (prefers dark grey color)
- Pro Acryl, Dark Neutral Gray <– his favorite
- Vallejo, Surface Primer – German Panzer Grey
- Stynly Rez, Acrylic Polyurethane Surface Primer, Gray
- Don Suratos
- Vallejo, Mecha Primer Black
Tips
- Setup (before you prime)
- Put in at least 3 drops of Thinning Sauce in the fluid cup!!!! This will lubricate the nozzle and help prevent paint from drying in there.
- Then you can add your primer in the fluidcup
- Priming
- Goal thin coats!! (2 thin coats recommended)
- let the primer dry between each coat (a few minutes typically 3 to 4 minutes, based on humidity)
- clean the fluidcup between coats (do NOT let the paint dry in your airbrush)
- short controlled bursts (do NOT just unload full power)
- 18 to 20 PSI (dark color primers) or 35 to 40 PSI (white primer)
- Goal thin coats!! (2 thin coats recommended)
White Primers
- 35 to 40 PSI
- Going to need more than 2 thin coats
- looks white when freshly sprayed (because “wet” reflects a lot of light ‘white’). It will dry and dull down to grey
- Take a look at the following example progress provided by reddit user CthulhuMadness.
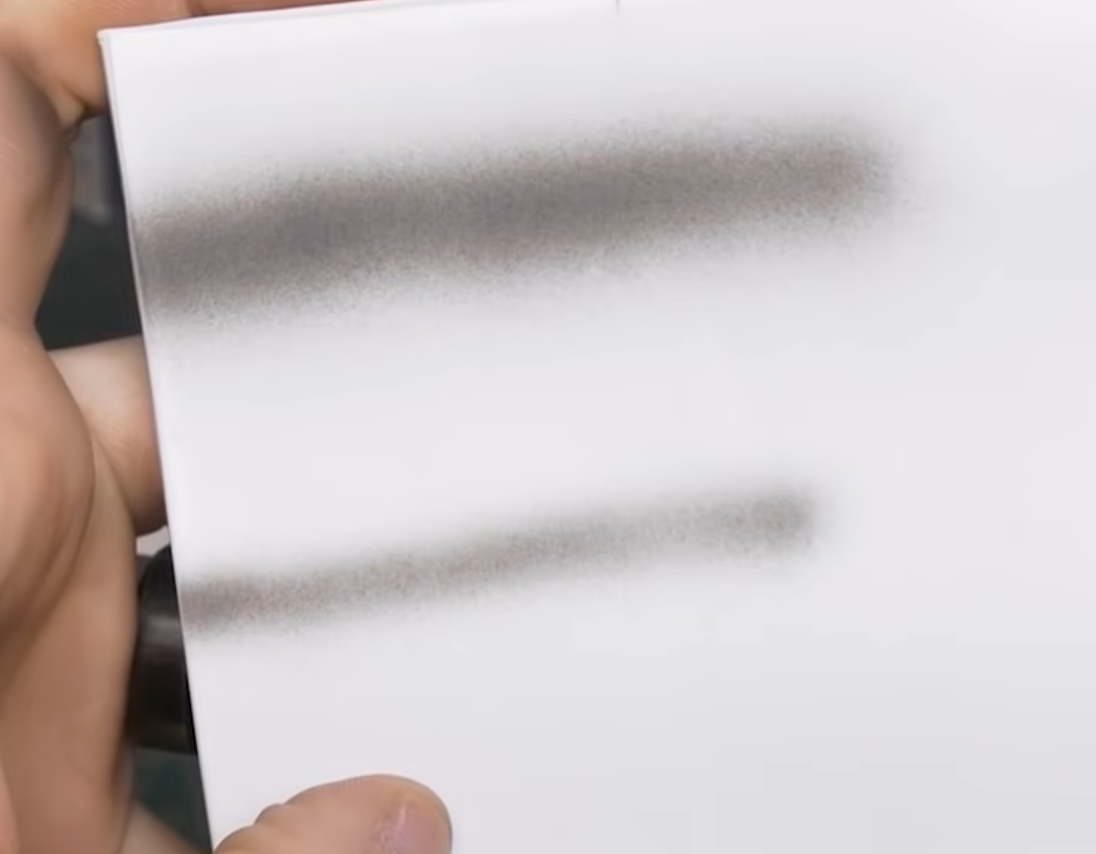
An initial pass at priming will look like the first picture. The gradient of gray piercing the white indicates you need more white primer.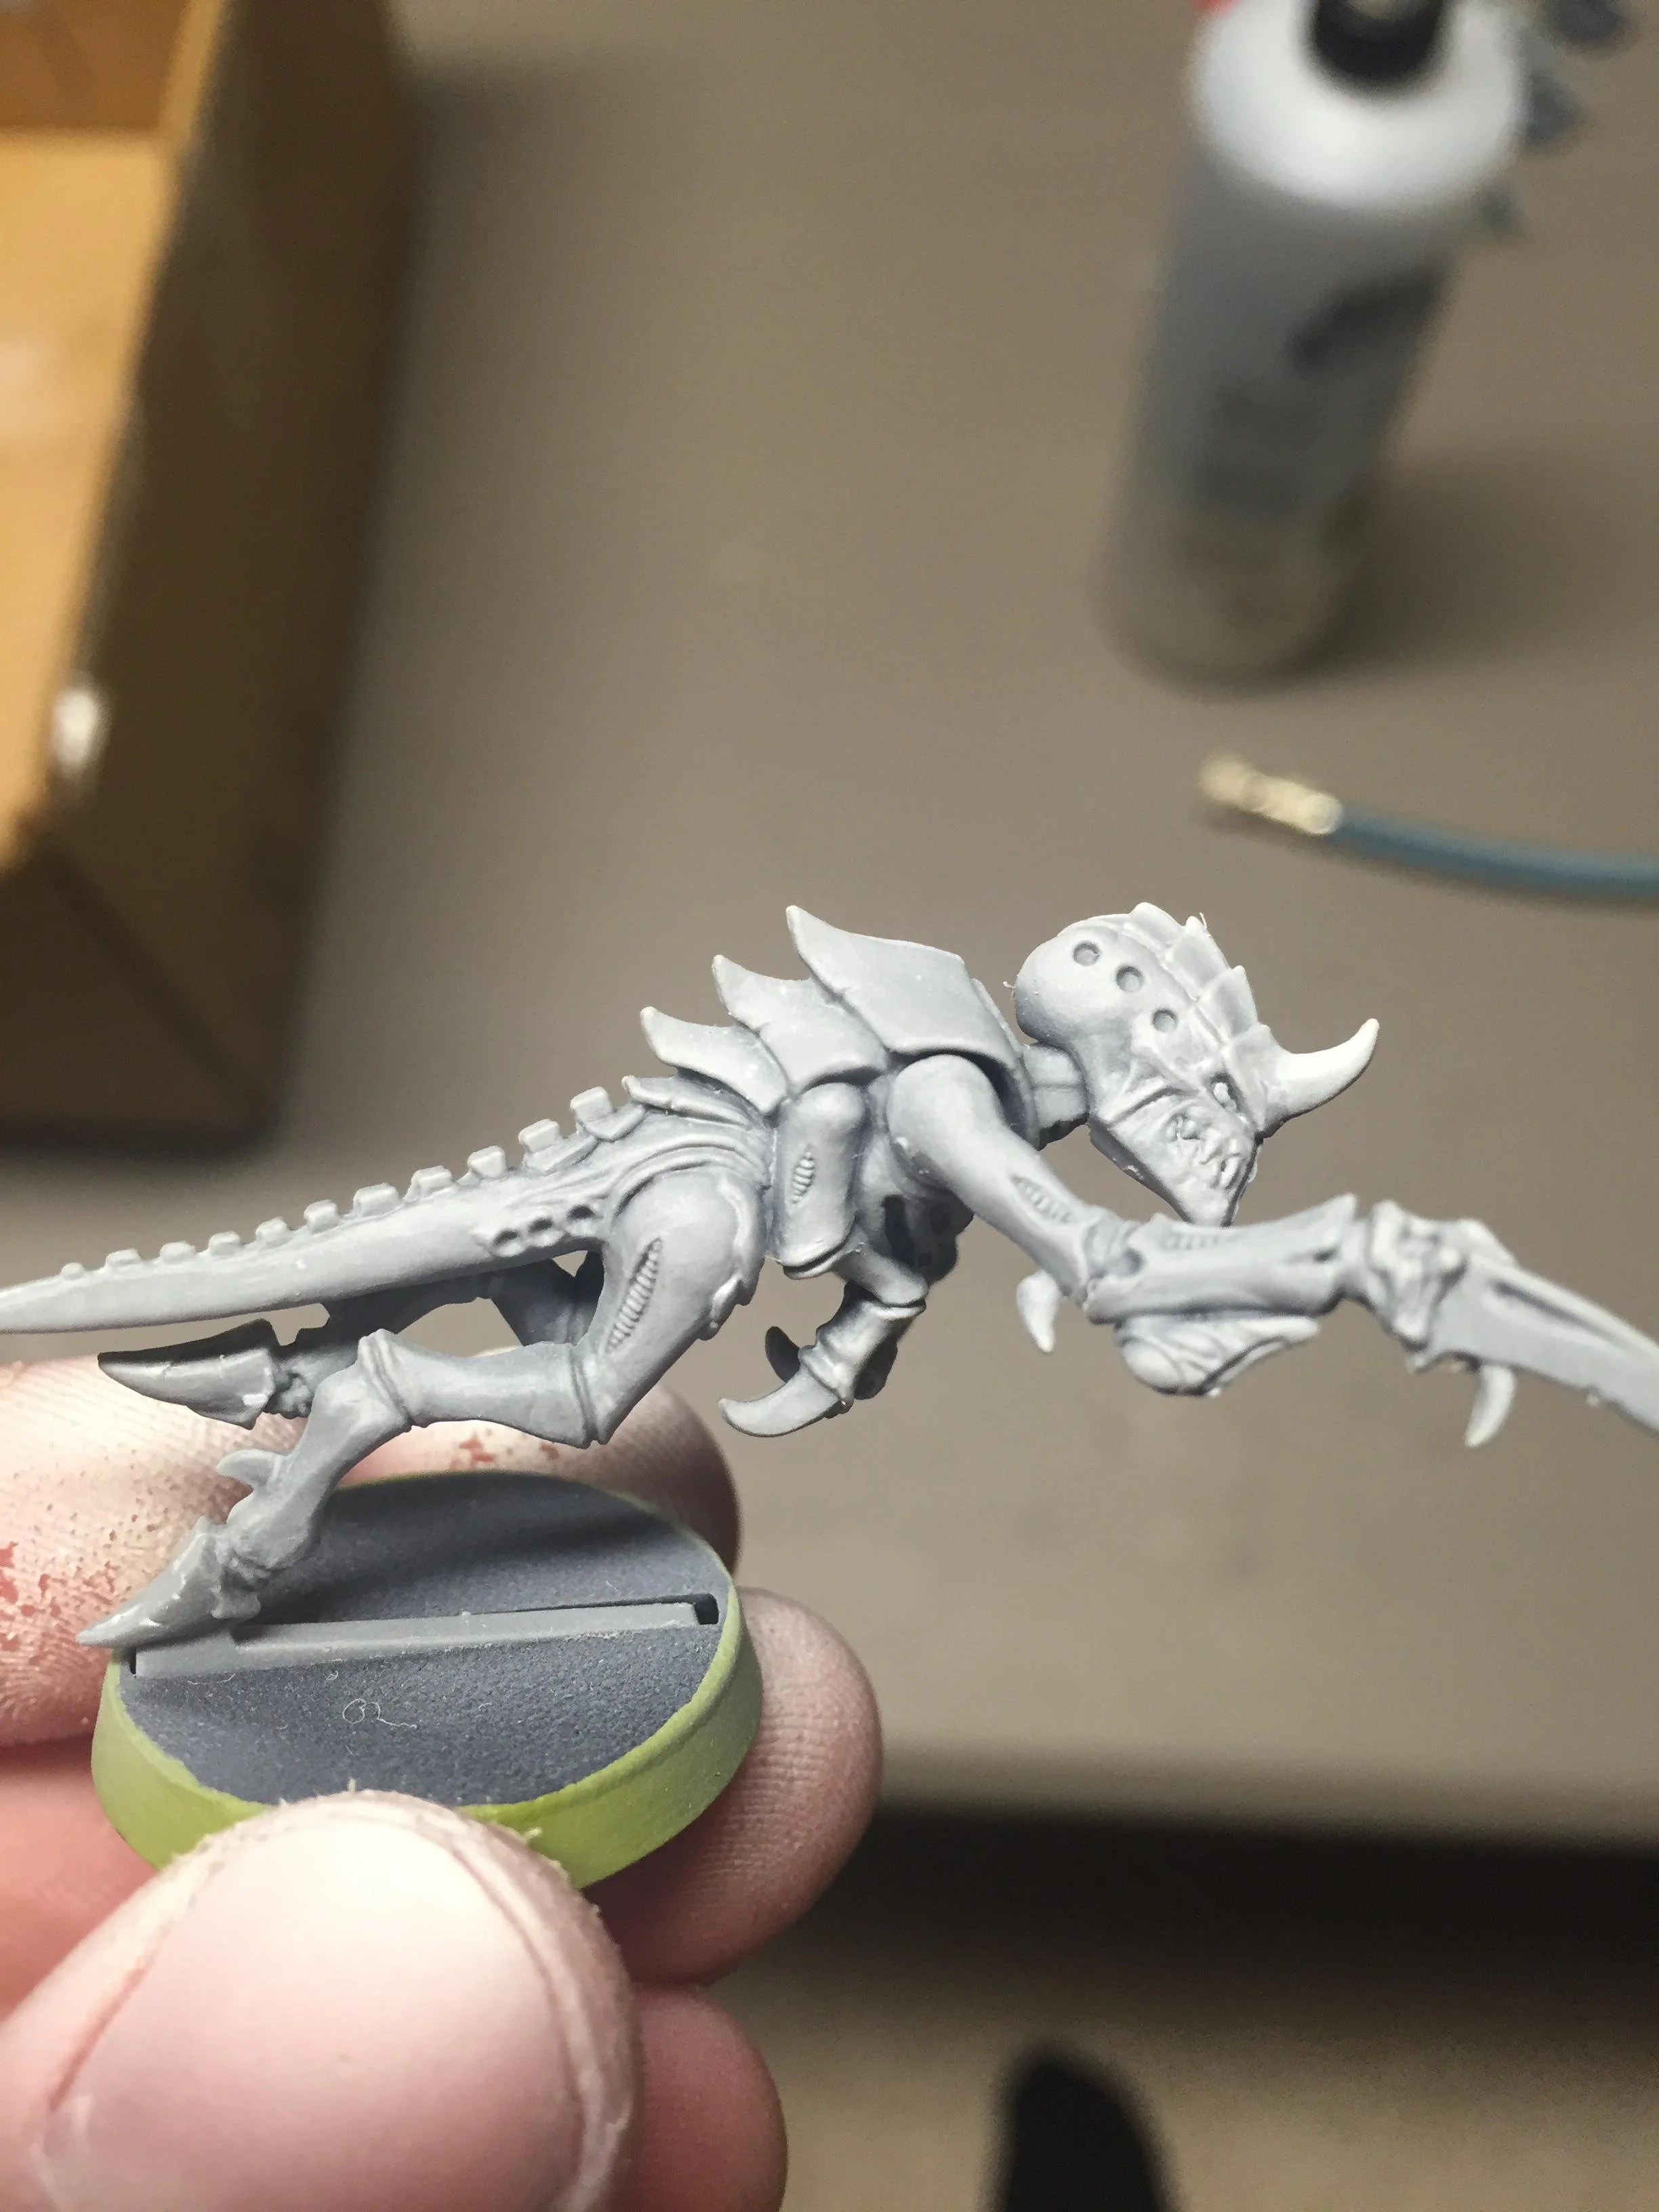
You’ll know your priming is completed successfully when the entire model only shows white and look like the second picture below.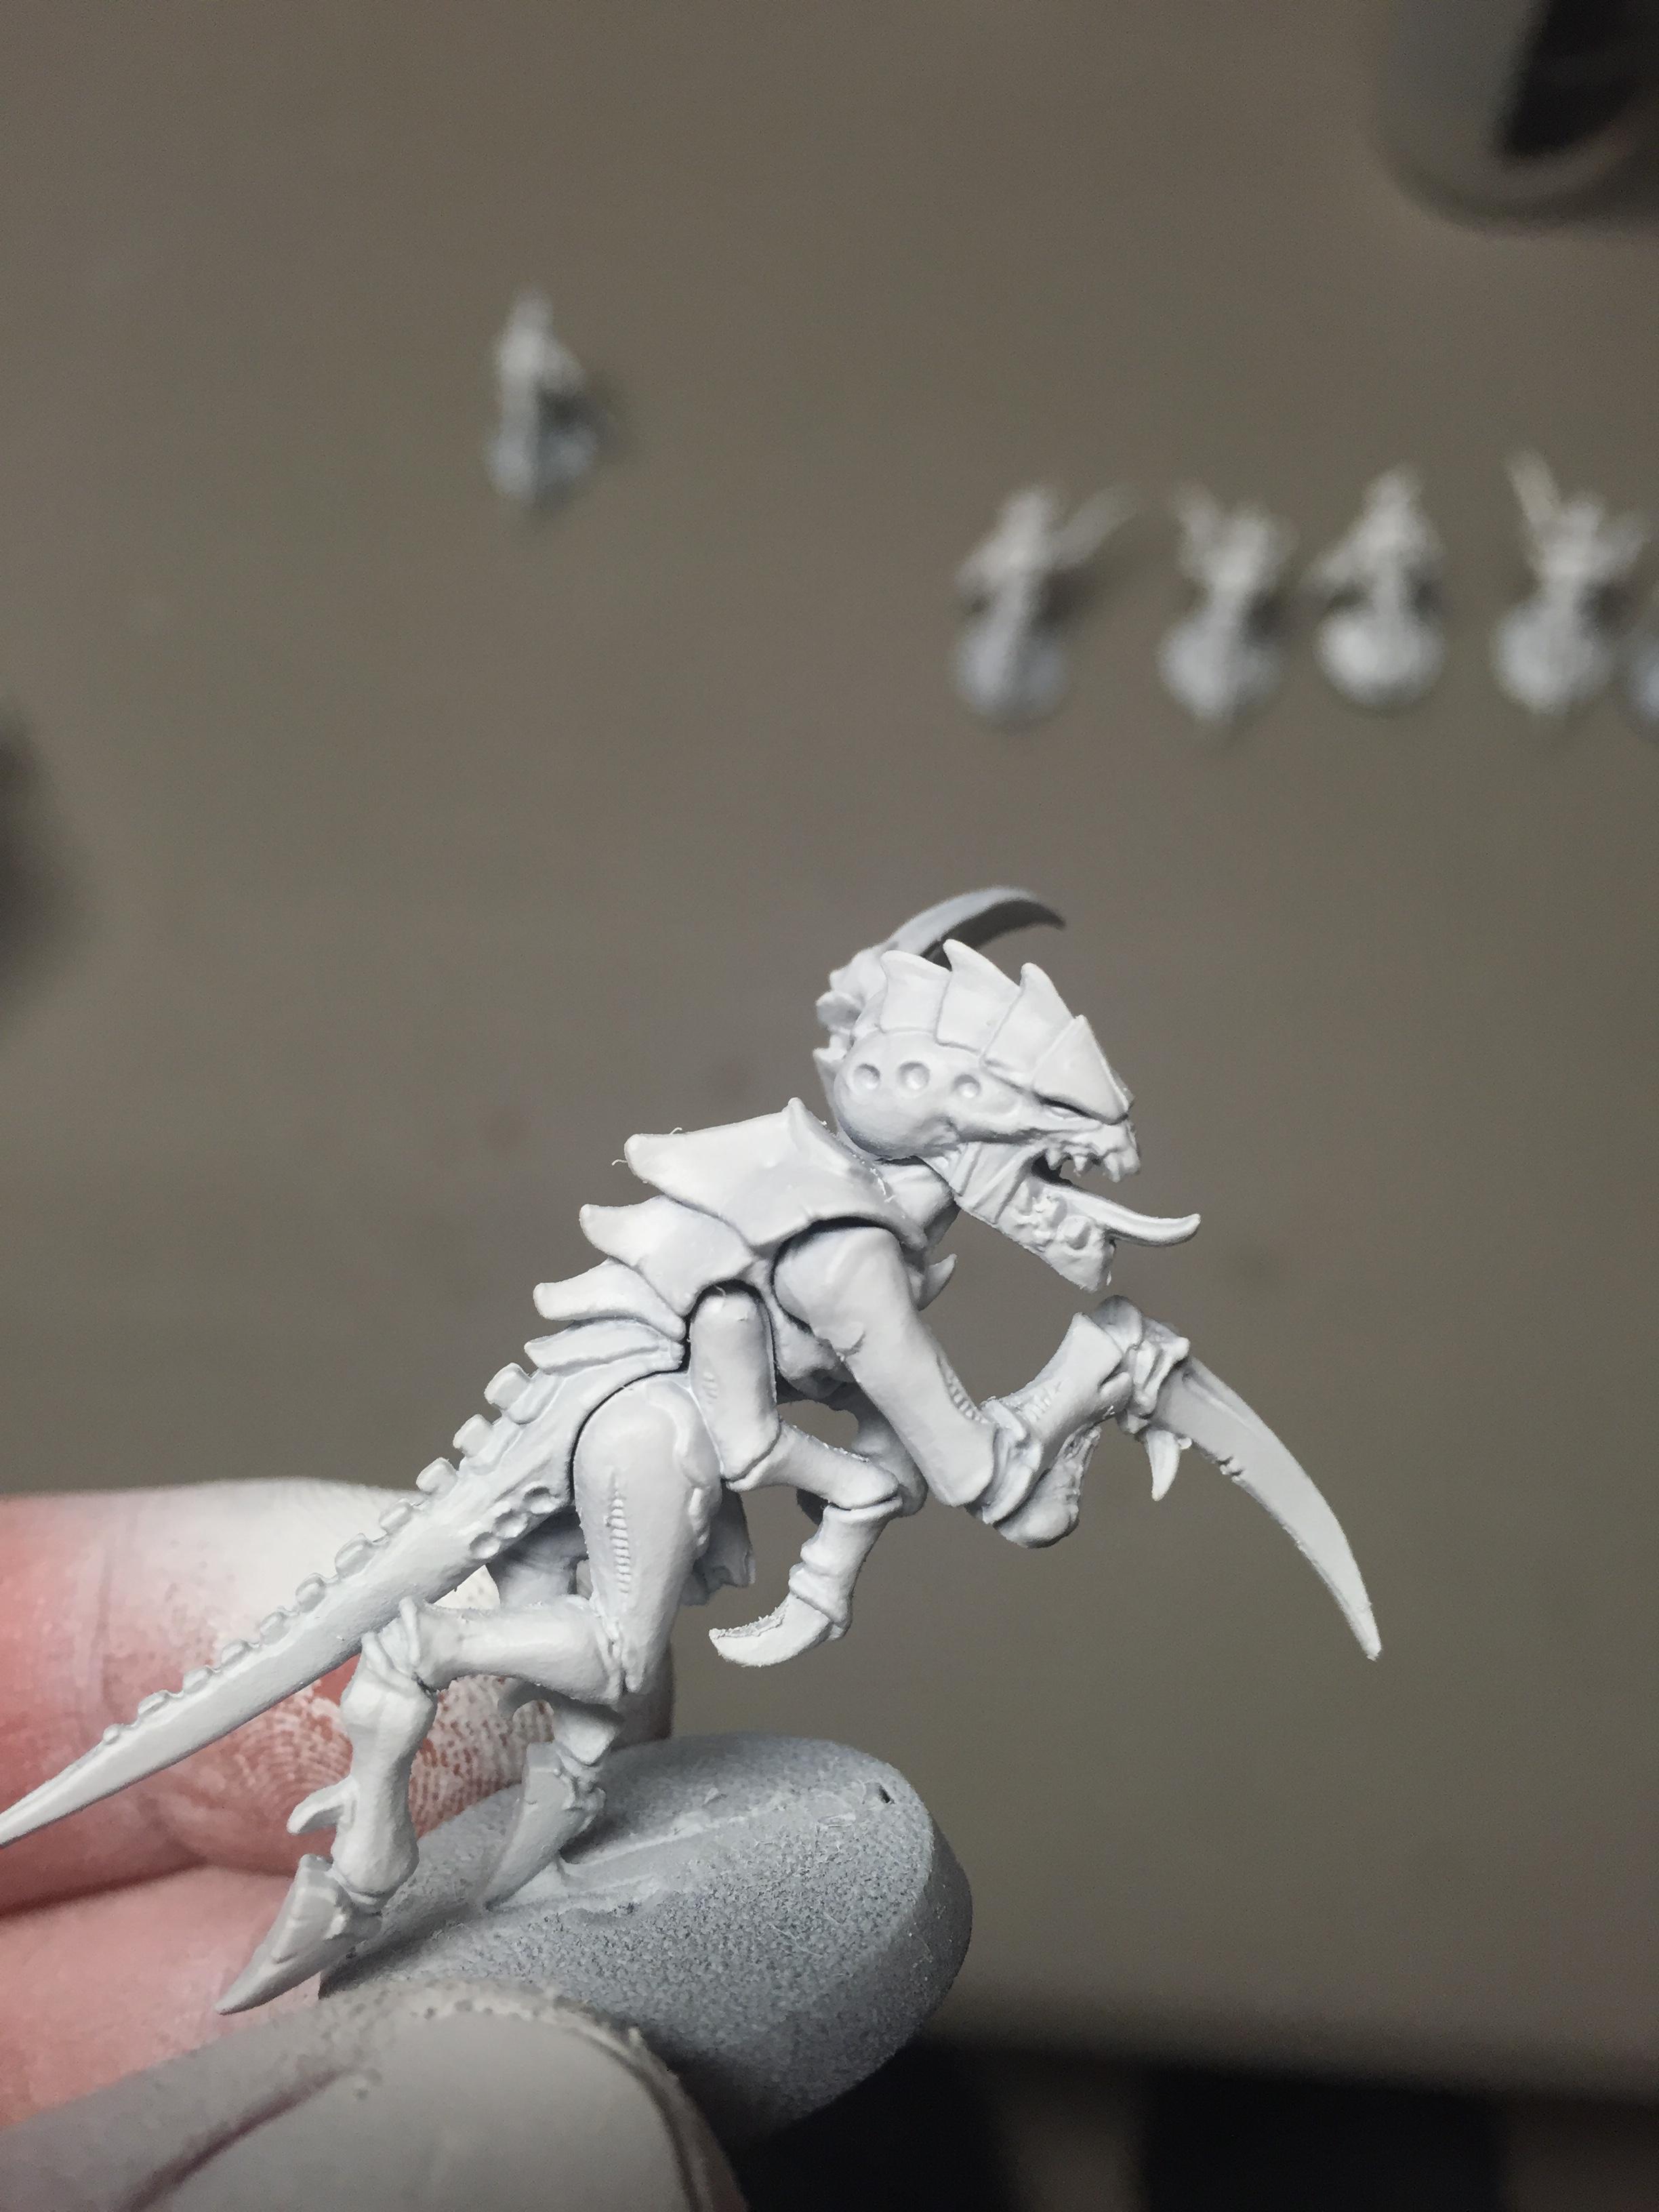
Primer Mixing Ratios Used By Pros
| Artist | Primer Ratio | Thinning Sauce Ratio | Primer |
|---|---|---|---|
| Vince Venturella | 3 or 4 | 1 | |
| Don Suratos | 1 | 1 | Vallejo, Mecha Primer Black |
Painting
THIN YOUR PAINTS!!!! Note that yellows and whites which are notoriously difficult when using brushes also require different mixtures in airbrushes too!
Paint Mixture
Visual Inspection
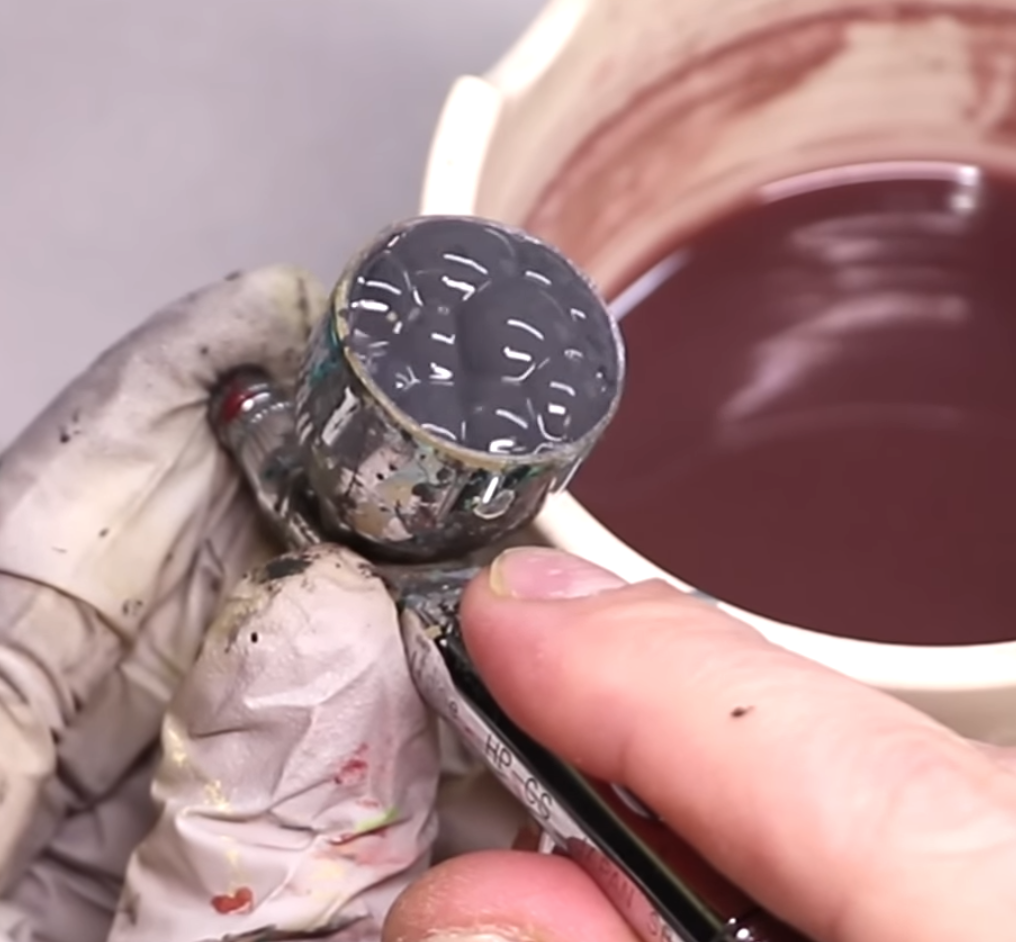
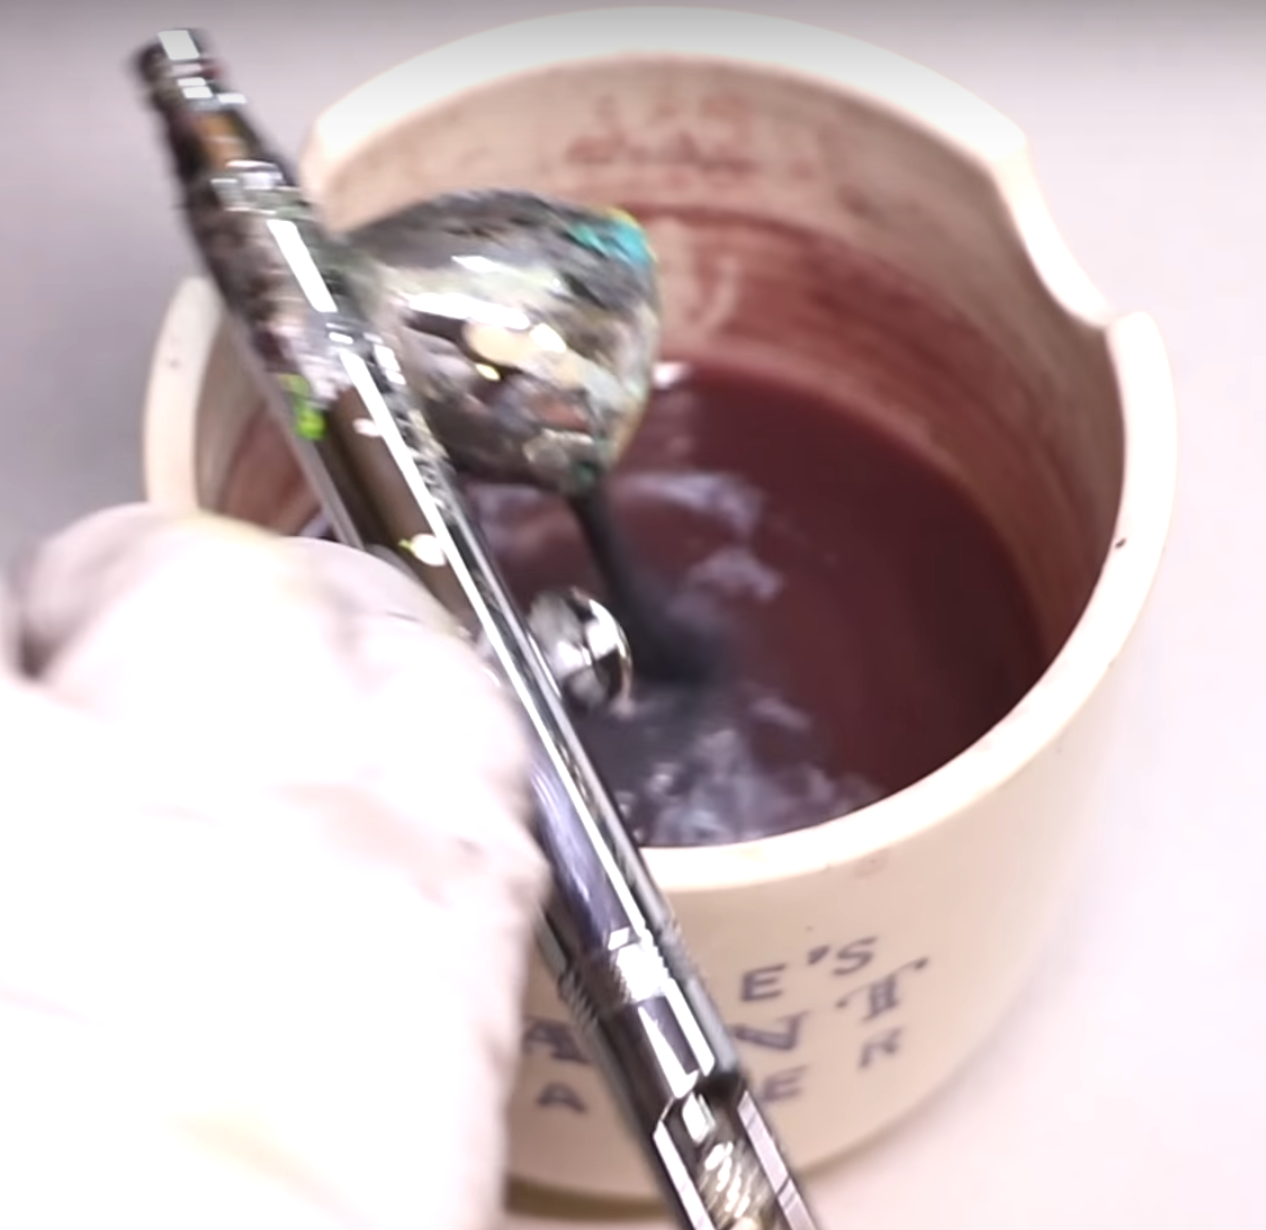
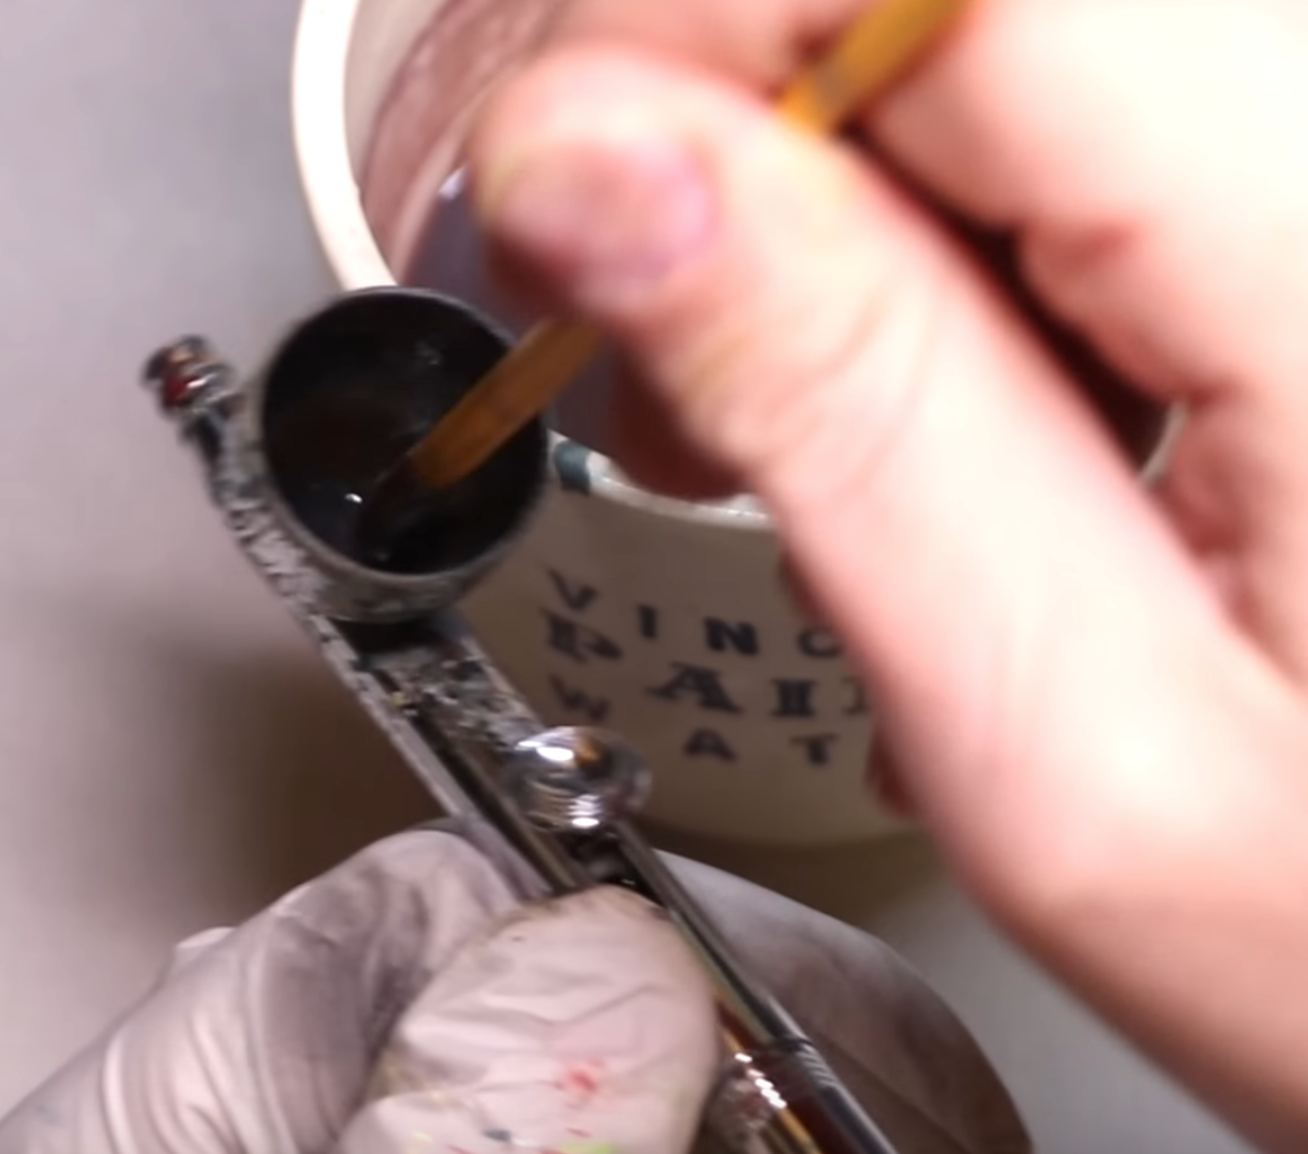
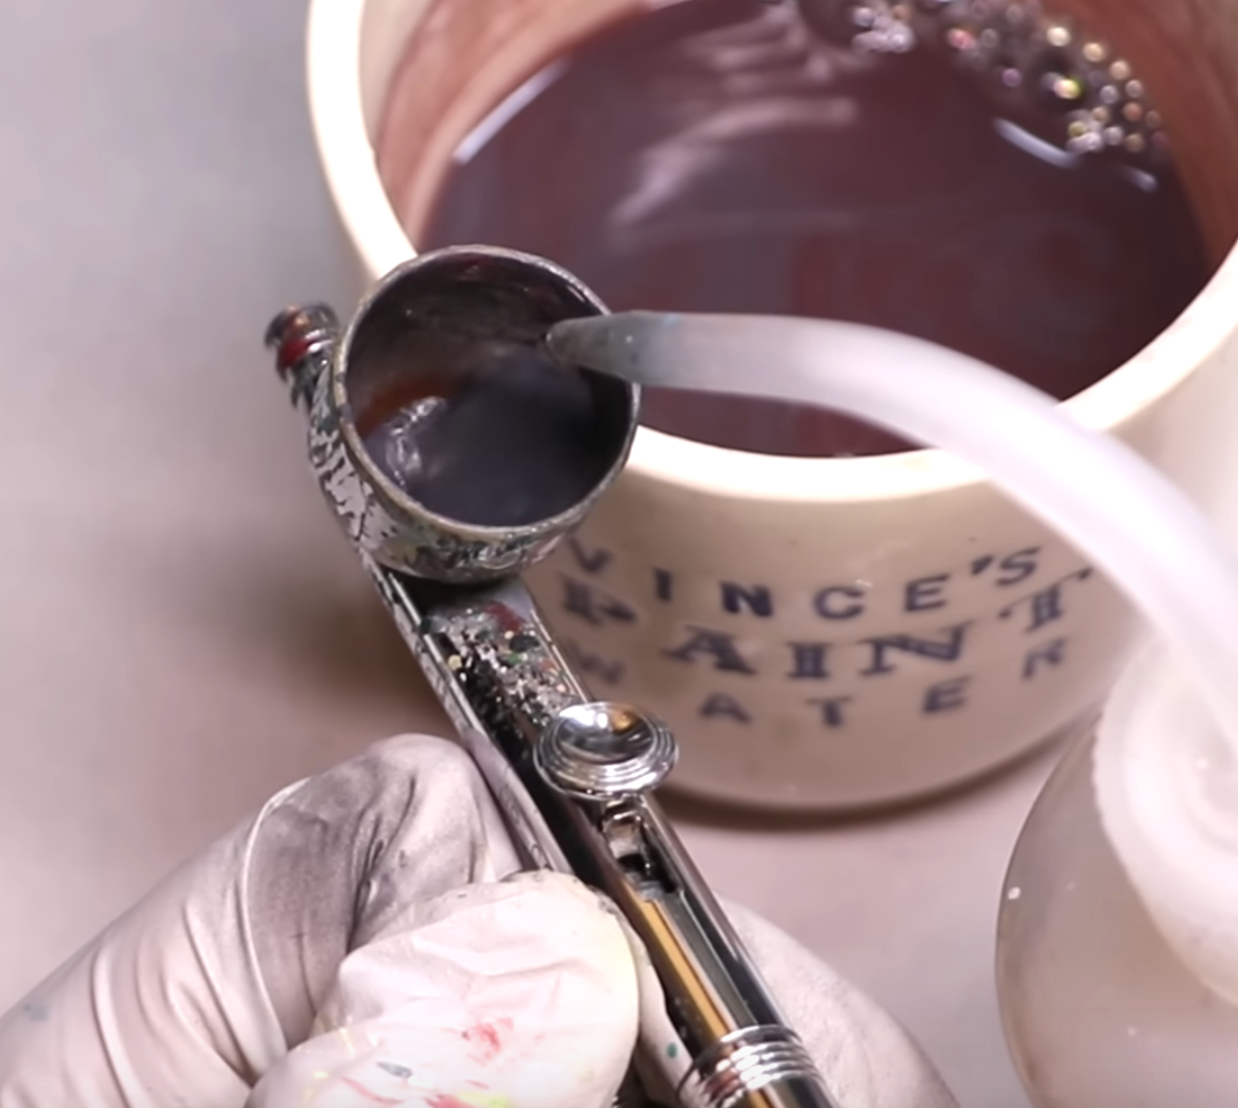
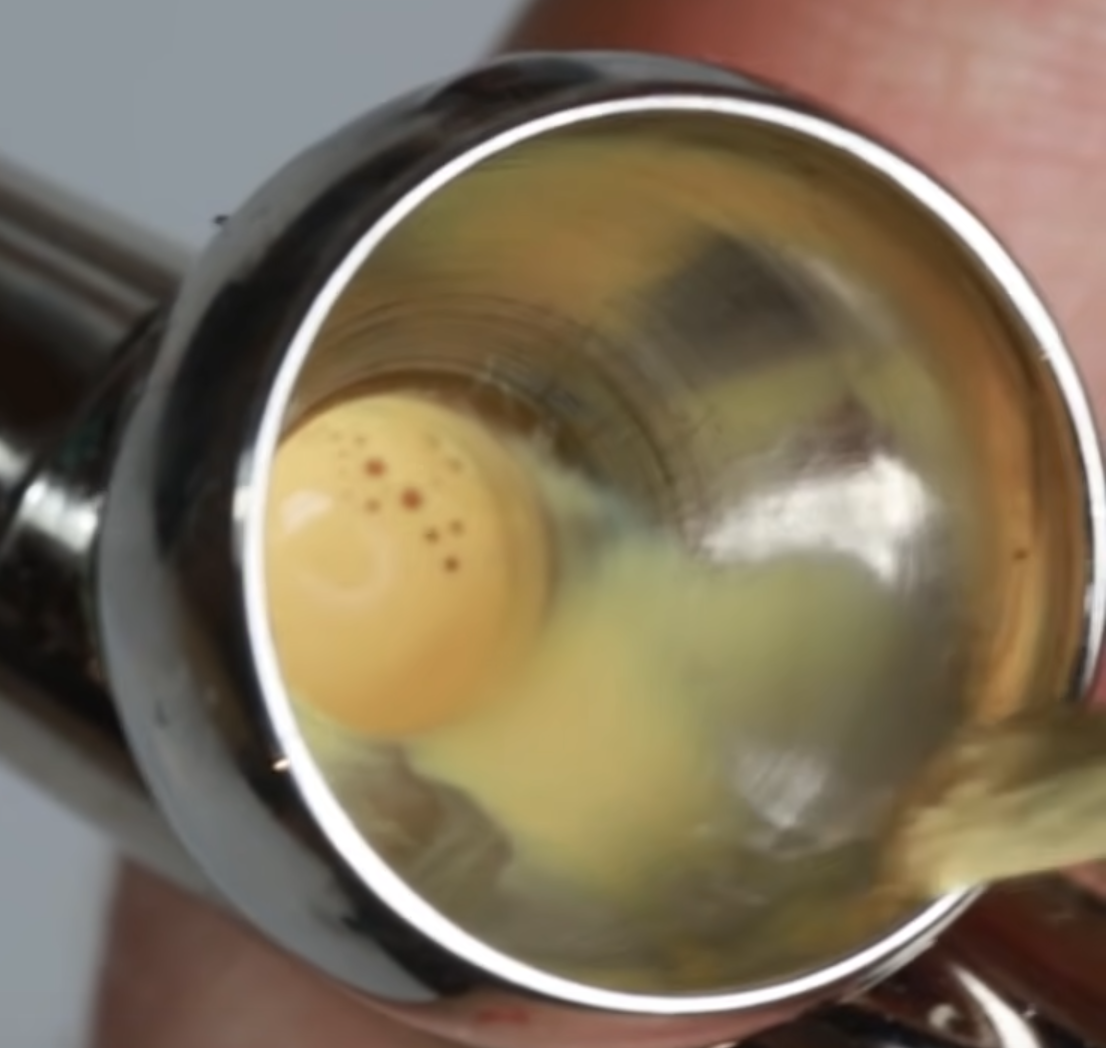
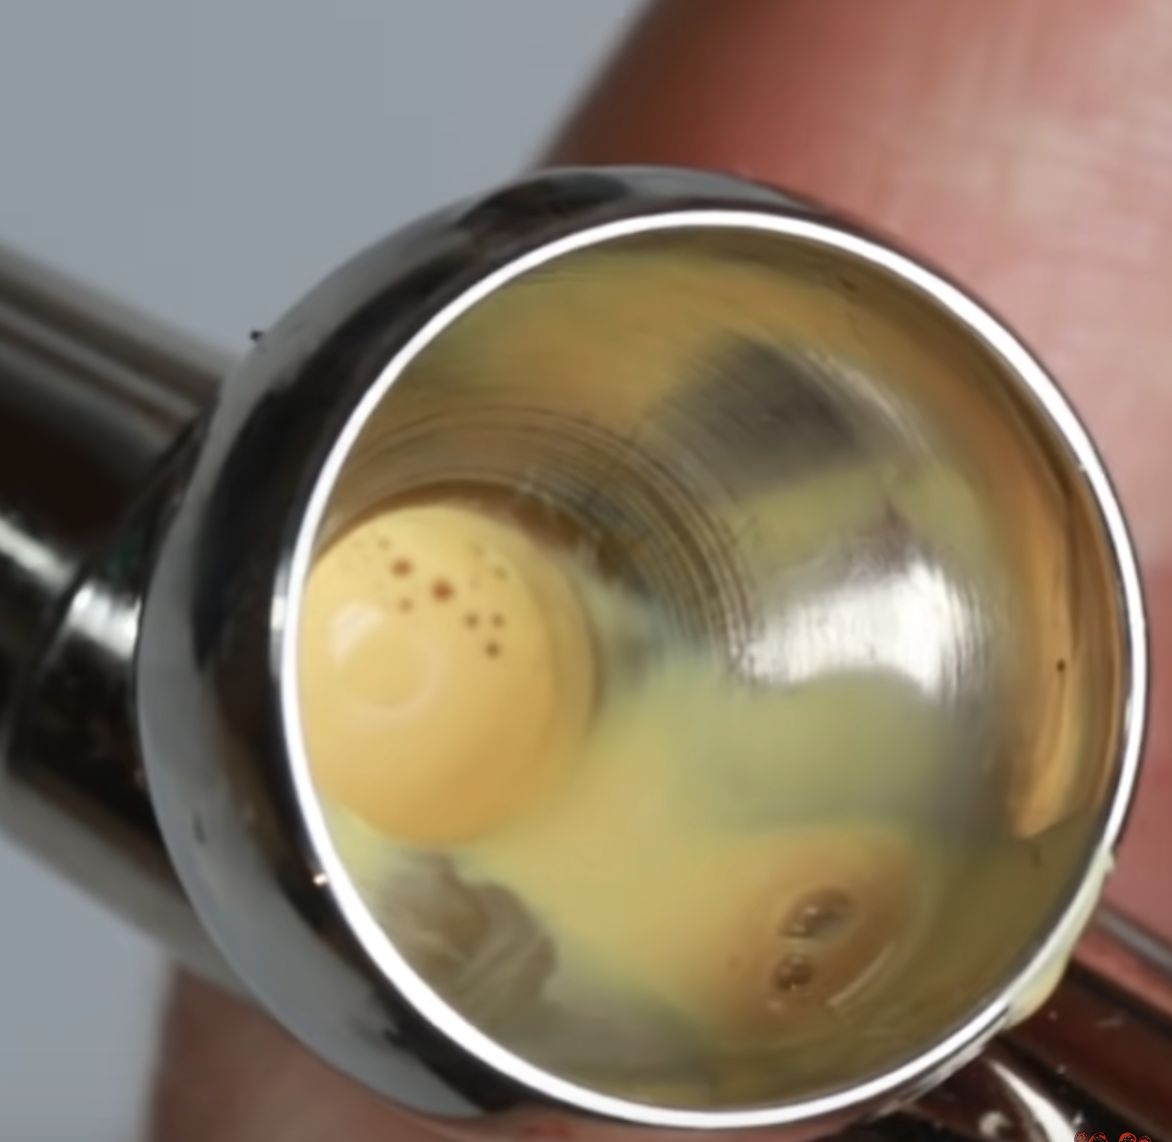
It is commonly suggested your thinned paints for the airbrush should be the same thickness/flow as skim milk. Squidmar Miniatures has a nice view of the consistency he uses in his video. It’s basically supposed to flow easily like water but be thicker.
We can see him draw the paint on the brush up the side and slide back down into the base with these 3 images.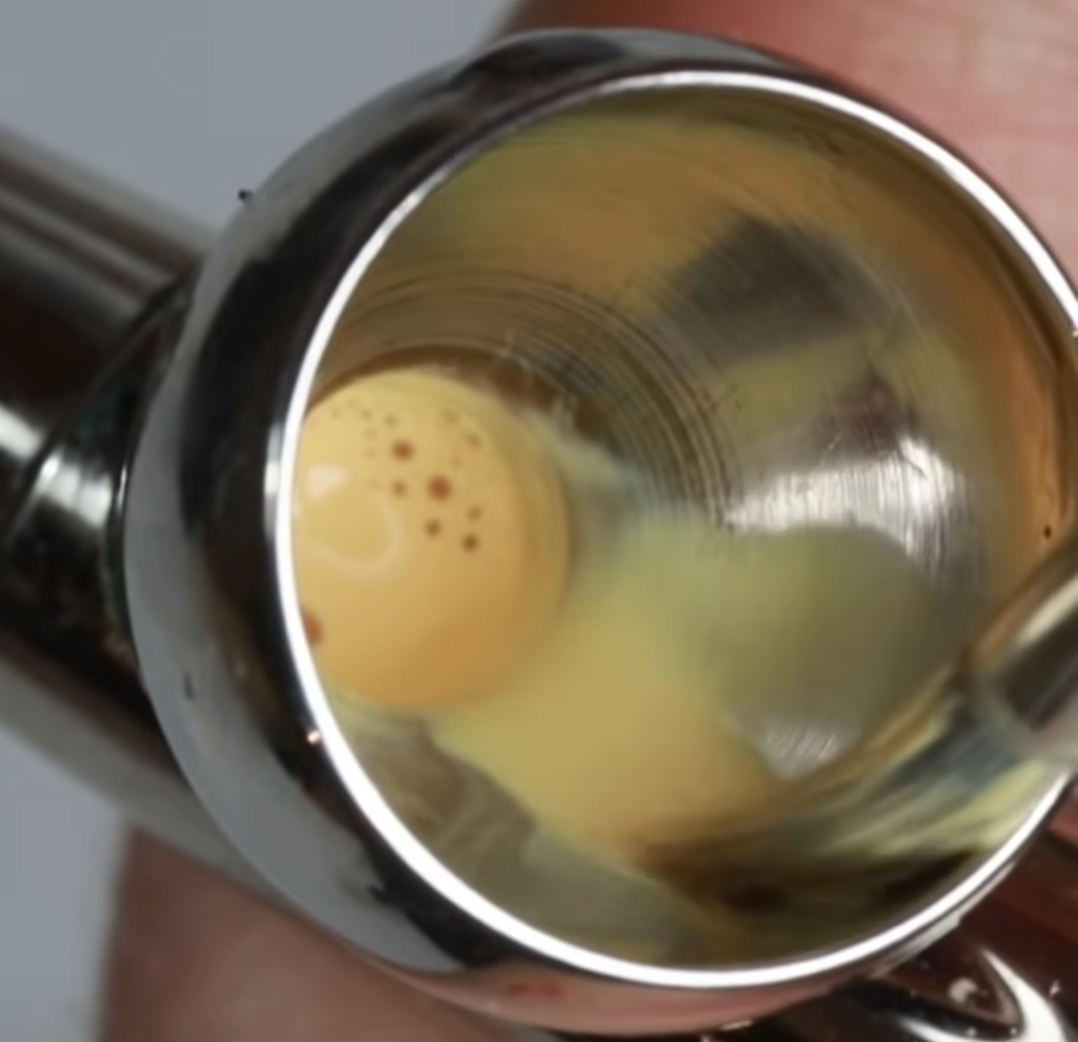
Paint Mixing Ratios Used By Pros
| Artist | Thinning Sauce | Paint | Paint Make/Model |
|---|---|---|---|
| Vince Venturella | 4 | 1 | |
| Don Suratos | 3 | 1 | Vallejo, Mecha Color |
| 4 | 1 | Vallejo, Mecha Color Yellow | |
| 5 | 1 | Vallejo, Mecha Color White | |
| 0 (1 Flow Improver) | 5 | Vallejo, Mecha Fluo |
How To
| Double action triggers work by 2 forces accessing 2 separate parts of the airbrush. Pushing straight down opens up the air flow. Pulling back opens up the paint flow. The proper motion to apply paint is: 1. Push down and hold at intended depth (let air flow) 2. Pull back (let the paint get caught into the already flowing air) === after you’re done applying the paint and want to stop spraying== 3. Return the trigger forward (moving forward but still keeping the same depth — air flowing). This will stop the paint from spraying. 4. Release the depth of the trigger (let it come back up and close off the air). |
- Add Airbrush Thinner before anything else to the airbrush. For regular paint add roughly 13 drops. Always add more than you think. If the paint comes out too thin you can always spray again or adjust. The alternative can result in too much paint applied (hard to remove) or a problem (annoying to fix).
- Adding/mixing paint
- you can mix outside the airbrush and pour it in
- if you mix inside the airbrush (Vince added 2 drops of paint to 13 of thinner). If it’s air paint he uses 6 drops of thinner. 8 drops for Inks.
- mixed using an old beat up brush. Only using the tip, not the ferrule.
- add one more drop of thinner
- then back flow to mix
Tips
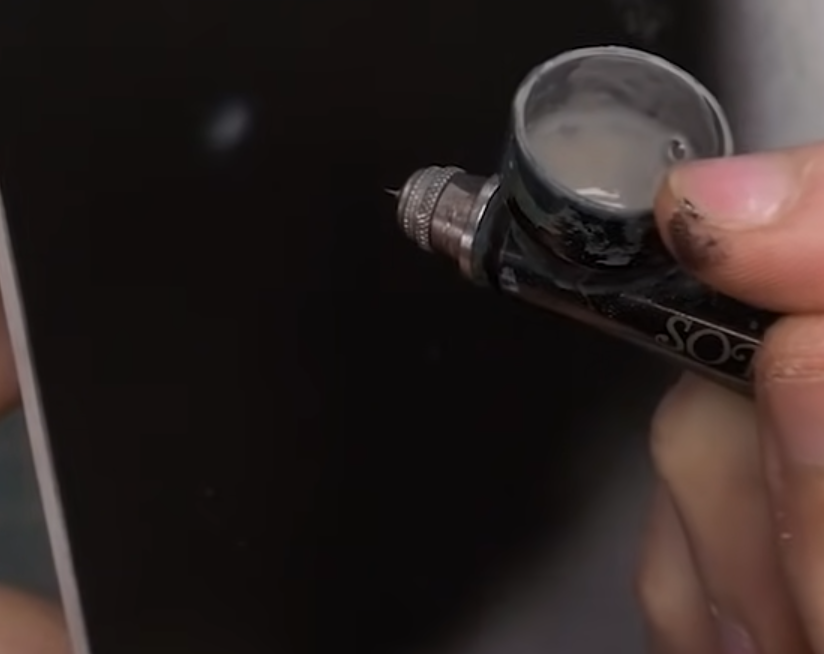
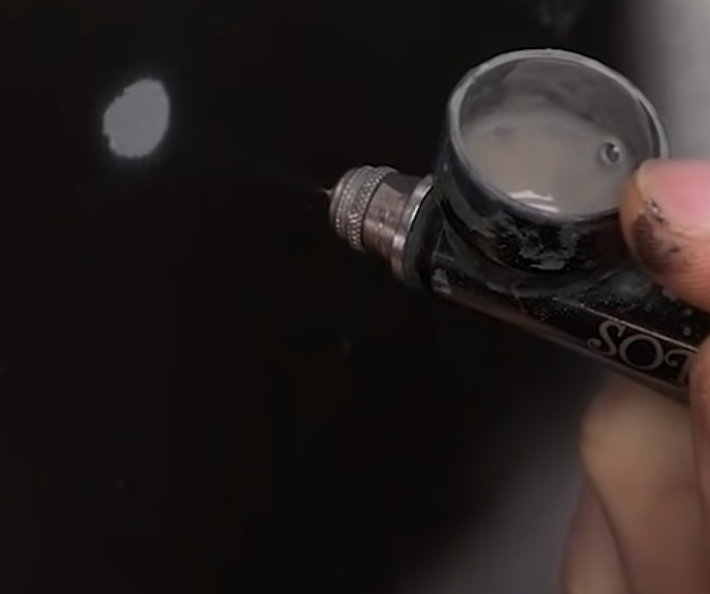
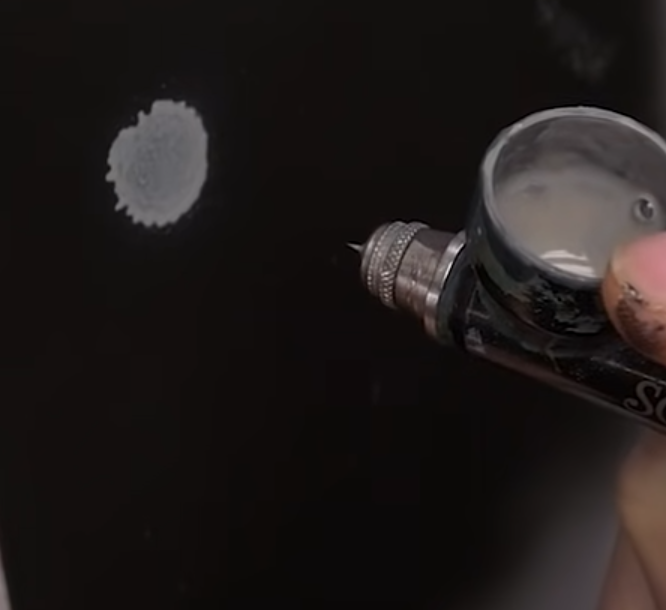
- The closer your brush is
- the more precise/narrow your spray is
- the less PSI/pressure you need
this image is the same airbrush pressure at different distances
Varnish
Varnish is needed if your miniature is going to be used in play and subjected to fingers (body oils). Like everything else, it needs to be thinned first. Though you can get by with 1 coat, it is generally recommended to apply 2 coats. The reason being, not only do you get extra protection, but because varnish is transparent there is a higher chance you will miss spots (which is reduced by a second pass).
| The idea of a glossy varnish undercoat for better protection is a myth (Goobertown Hobbies even did a fun video debunking this). Just use matte varnish for both your coats if you want a matte finish. |
Vince Venturella mixes his own varnish with 3 AK Interactive Ultra-Matte : 1 Vallejo Satin Varnish with 2 coats. Below is Vince’s approach captured from his Hobby Cheating video.
How To
- Put 3 drops of Thinning Sauce in the airbrush before anything else
- Apply the varnish over the entire miniature in thin coats
- if you see pooling, stop spraying varnish and just use the air to push the pool around
- Let the first coat completely dry before applying a second coat (how long depends on the humidity). This can be as quick as 10 minutes or take as long as an hour.
- Clean airbrush as normal but also includes a drop or 2 of 99% isopropyl alcohol,
| Vince Venturella varnishes during the painting process (not just at the end). This creates a “save point”. This allows future painting steps to have an error, and he can then use water to remove the mistake without effecting the delicate layers below the “save point”. |
Problem Solving
Big thanks Miniac and his video on Airbrush tips; many of which are captured below.
“Spider Webbing”
Cause
Pressure is too high or too much paint was released
Explanation
The air is spreading your paint before it has a chance to dry.
“Speckling” or Splattering
Possible Causes and their Solutions
- Pressure is too low for the paint in its current medium
- adding thinner to correct your paint thickness
- Dirty nozzle
- clean your nozzle
- Needle is bent
- buy a new needle. There is no wiggle room here. There is no such thing as slightly bent. It either is perfectly straight or not.
Bubbling in the Fluid Cap While Painting
Possible Causes and their Solutions
- Needle is not fully pushed in
- solved by unscrewing the handle and the needle and properly installing it
- “dry tip” – paint has built up on your needle tip
- solved by cleaning your needle
Primer Chipping Off Easily
Possible Causes and their Solutions
- Model isn’t clean and degreased – the primer is sticking to things that are not the miniature (ie. dust, grease, dirt, etc, which can flake off)
- solved by washing in soapy water for the dust and then use IPA for the grease (hydro-phobic junk).
- Spraying too far away – the primer is dried before touching the miniature
- solved by holding your airbrush closer or using more retarder (flow improver)

Leave a comment