
TLDR;
- Bulk Filter Dirty IPA
- UV Cure the Filtered IPA
- [Optional] Fine Filter the UV Cured IPA
Summary
To get the best details and quality out of your prints you want to use 99.9% IPA, but the issue is that it can be expensive at the quantities you need. It’s important to note that the process of filtering and curing does NOT yield 100% re-use. Using this approach you can expect to extend the lifetime use of your IPA by 4x. There is another approach you can use for better results but it comes with significant risk and is mention at the bottom of this article.
Item List
These are the items I bought and use, and are linked to where I found them on Amazon (these are not affiliate links).
Steps
The flow I mention here is “generally” accepted within the community, but the 2 sources I prefer and rely heavily on in this article are Wham Bam and VOG.
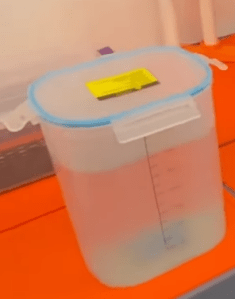
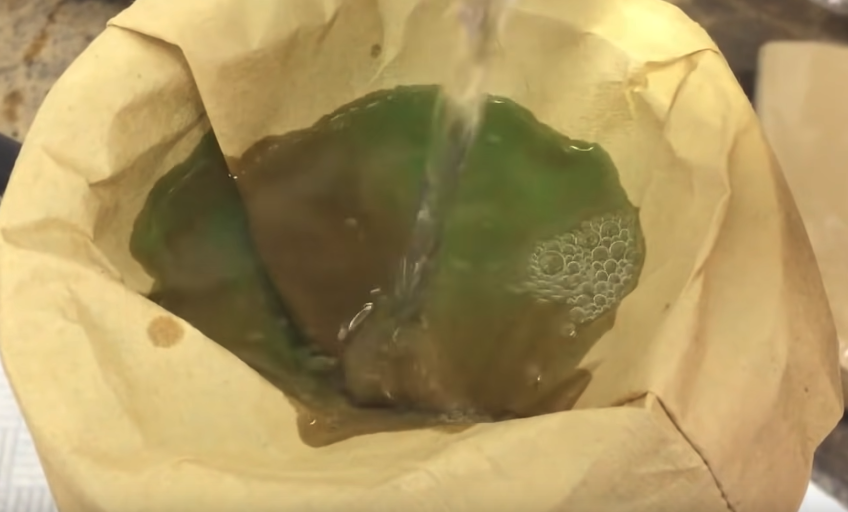
- Pour your dirty IPA into a clear container using a filter placed inside a funnel.
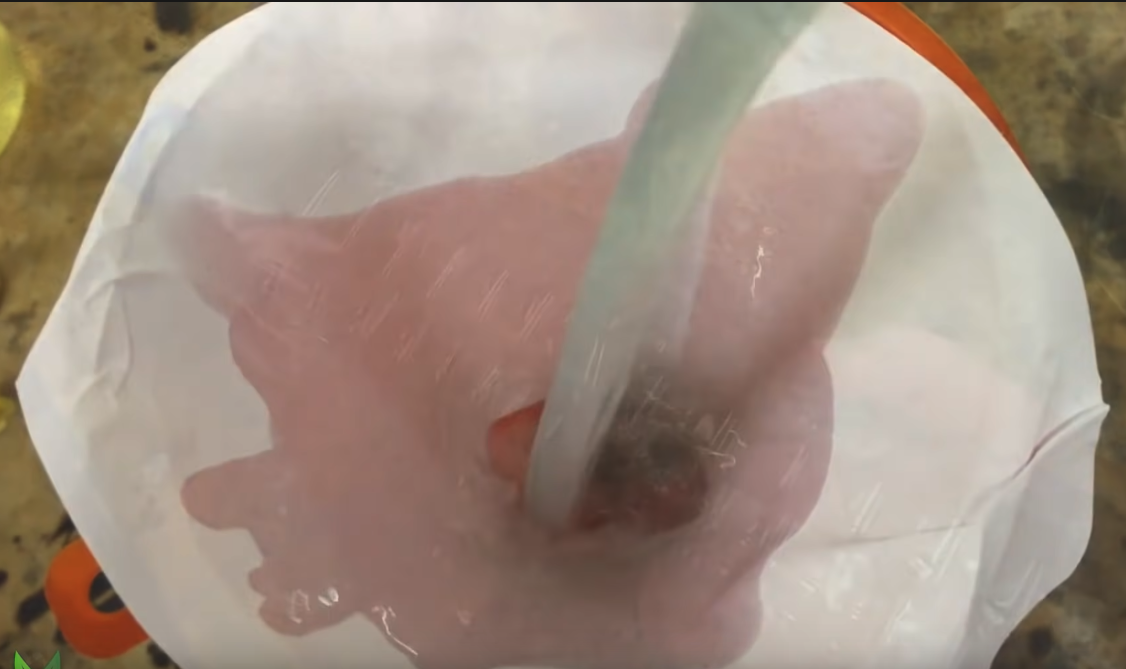
Goal Get bulk resin filtered out.- Resin has a tendency to settle over time, and you may want to leave the bottom portion of your dirty IPA in the container (as it has effectively been filtered from the rest and is the highest concentration of resin to IPA). If you do, cure this remainder separately from other IPA and then dispose of it.

You can see in the pictures above the bottom is significantly darker.
- Resin has a tendency to settle over time, and you may want to leave the bottom portion of your dirty IPA in the container (as it has effectively been filtered from the rest and is the highest concentration of resin to IPA). If you do, cure this remainder separately from other IPA and then dispose of it.
- Put your collected, filtered IPA jar out into the sun to cure. This process will take days and what you’re looking for is the IPA to be clear again.
(start: left, end: right. green sediment on the bottom is resin)

the example above is 2 different jars depicting the different stages (they are not a before and after picture).
Goal Resin will harden (cure) in the sun’s UV and settle at the bottom.
Note: You want to leverage the sun for this step instead of using a curing machine for 2 reasons:
1) the sun is free
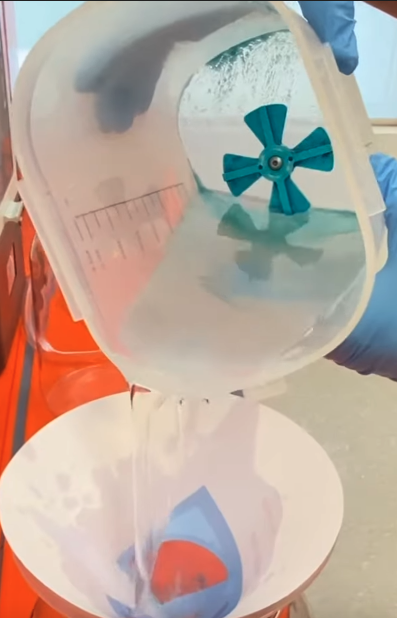
2) using your curing machine will accelerate the burnout of the UV lights / contribute to additional “wear and tear”. - Transfer the cleaned IPA to your jar. Similar to step 1, you may wish to leave the bottom most IPA in this container as it will contain a higher concentration of residual resin.
- Wham Bam used a siphon to transfer the contents which can be easier if you have large containers.
Note: Make sure your source jar is physically higher than you destination jar. - VOG took the opportunity to use one last fine filter.
He also designed a funnel to help maximize the filtration surface area.
Which you can buy here.
- Wham Bam used a siphon to transfer the contents which can be easier if you have large containers.
Alternative to Proposed Process and the Risk
To be clear, I do NOT recommend or advocate this approach.
People have had mixed results using water distillation units for distilling the IPA. The residual resin is stuck in there and not particularly easy to clean out. Some distillation units fail in weird ways. There are videos on Youtube and threads on Reddit where you can try to recreate the successes of others at your own risk.

Leave a comment