
This guide is the collective experiences and wisdom of the community distilled down to an easy to digest guide. Each section provides details. References to the source material providers are included via:
- adding their logo to images sourced from their material
- images linking back to their original source material
- a text mention with them linked
Table of Contents
What Is Glazing?
A method of applying paint and/or a general paint consistency. A glaze can refer to a very thin down paint or ink that is meant to tint a surface slightly.
When To Use A Glaze?
- Blend and transitions between 2 colors. A common practice is to work with the darker of the two.

- Introducing color (ie. warmth to skin color, shadows in crevices)
- OSL glow – the introduction of color which is very transparent is often used for emitted glow

- OSL glow – the introduction of color which is very transparent is often used for emitted glow
- Soften a feature (similar to a controlled wash). By putting that thin, targeted color layer on top you effectively reduce the intensity and make it blend with the rest (Zumikito talks about this for worn leather appearance).

- Adding shadows to large simple panels. Inks and washes can leave watermarks/”coffee stains” and tend to struggle on simple panels, since there isn’t much contour to leverage. Since glazing is controlled application of very transparent paint without the paint running, you can get the shading effect exactly where you want it.
- Painting an entire model that has a zenithal highlight underneath
Pros
- Incredibly smooth transition/blend of colors
- Pairs well with zenithal highlights
- Full control of the blend (since it doesn’t run)
- Can add highlight or shade
Cons
- Takes a lot of layers/time (if using traditional glaze as opposed to a heavy glaze)
- each layer has to fully dry before another can start
How To Glaze
This section shows 2 popular approaches to glazing. The key difference between the Miniac and Vince are the
| Miniac | Vince | |
|---|---|---|
| Wick Excess (Paper Towel) | Moist | Dry |
| Wick Excess (Brush Stroke) | Pull the brush and twist | Light dab and let the paper towel draw the water |
| Apply Glaze | Side of brush | Same motions as normal |
Miniac
- Load up your brush with the glaze liquid
- Dab the majority of the acrylic off on to a wet paper towel.
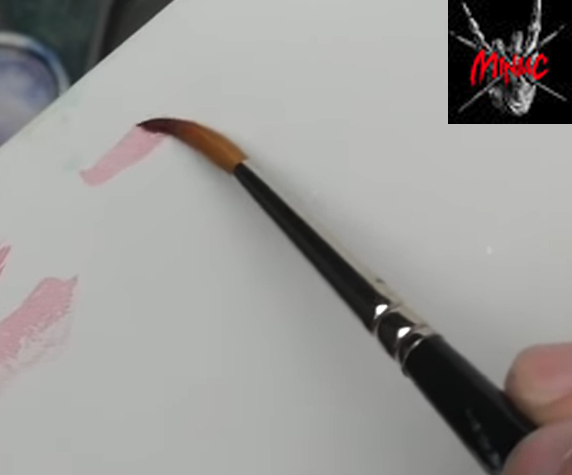
In the picture below, the Miniac gently touches the brush to the paper towel and while drawing it back, he actually twists the brush a full rotation. You can see the twist occurred by looking carefully at the brush bristles.
- initially there’s too much liquid on your brush, if you were to apply it, it would be have like a wash and run over the model.
- By having less liquid on the brush you can apply it in layers and control/concentrate the location
- Apply the glaze using the side of your brush (NOT the tip).
Vince Venturella
Unfortunately, the camera is out of focus for all the shots, but Vince does a phenomenal walk through.
- Put some of the acrylic paint of choice on your wet palette
- Add water to the paint you placed, and while mixing it push the paint down such that the water from your wet palette comes up into your paint via osmosis.

- Rinse the brush in water to get rid of the portions of unthinned paint that are on it from the initial time we placed the paint on the wet palette.
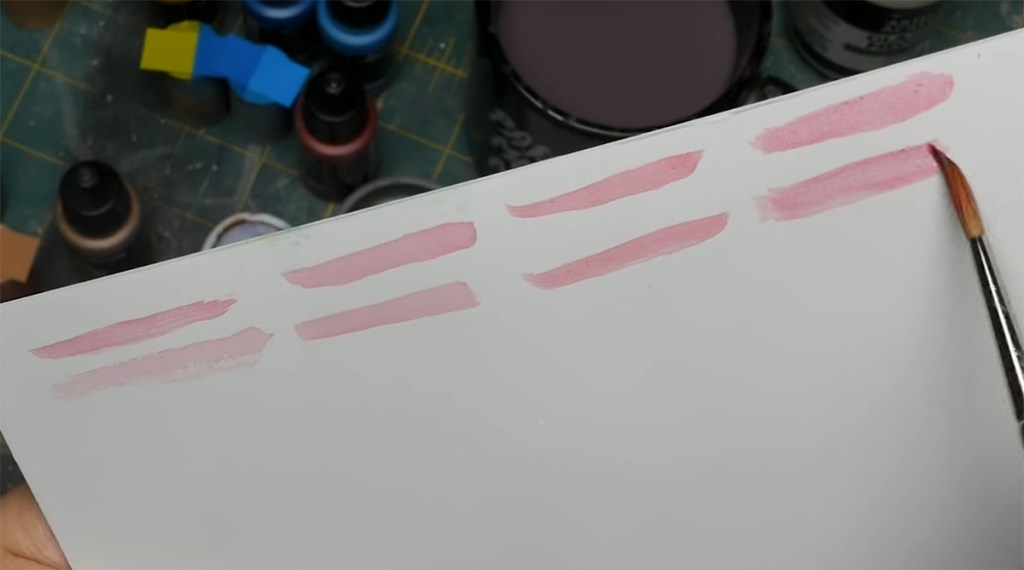
- Test it on some white paint some where. You want to confirm the color before applying it to a miniature. Vince uses a random white spot on his glove to test against.

you’re looking for a thin layer, like in the image highlight below
- Do NOT put the mixture straight onto the model!!!! You need to wick off the excess water onto a paper towel first. You achieve this by gently touching the brush to the paper towel.
- Apply a smooth, even, thin coat brush to the miniature. This super thin layer preserves all the details both physical and painted.
Making a Glaze
There are premixed glazes such as Citadel’s Glaze range. Mixing glazes instead of buying them tends to be incredibly popular in the community, and this section goes over how to do that.

There is NO fixed ratio of paint to water/medium when mixing. EVERY paint, even within a specific product line, has it’s own unique composition.
You have to mix it until it looks right and then test.
The first hurdle when mixing is “how do you know when you’ve made your glaze correctly?” Zumikito created this diagram below, which gives us a ballpark idea which direction to go. Roughly speaking a layer on top of a basecoat is 1:1 (50/50). We can see in the diagram, a glaze will bias towards having more water or medium than paint.

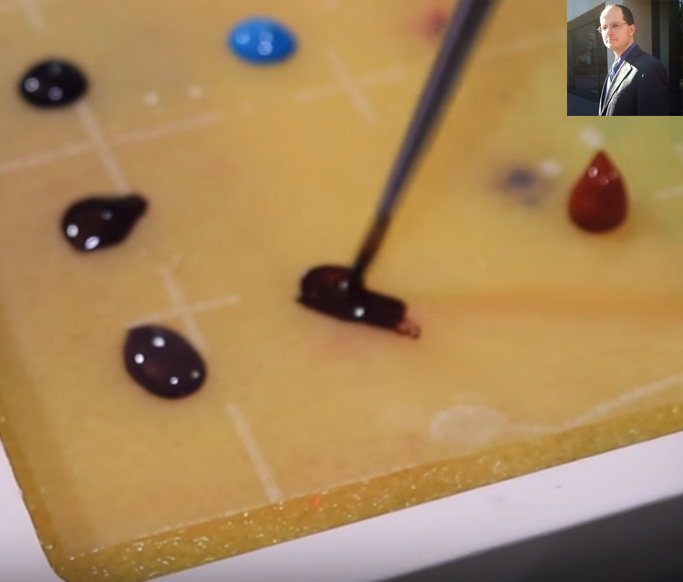
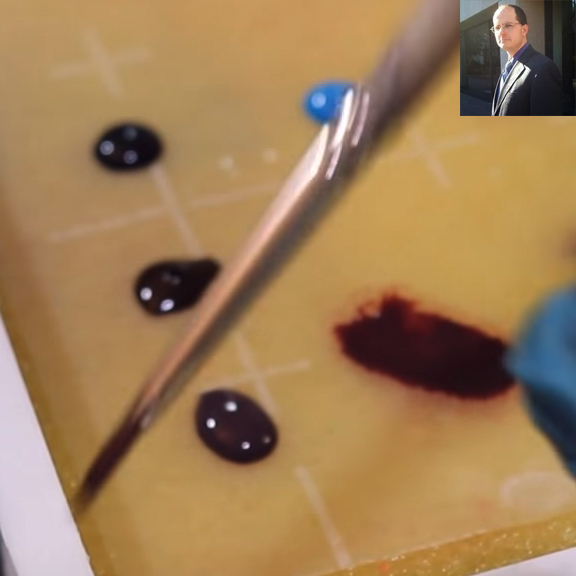
Juan has a video where he mixes the different consistencies on his wet palette for you, so you can see the progression. Below is a spliced image of the different consistencies, all are from the exact same initial pool of paint.

Controlled Approach To Mixing
- Place an unthinned amount of paint on your wet palette. Pull a bit away to work with, such that you have an untainted reservoir
- Add water to portion of paint drawn away from the original blob. Mix until you get the consistency you want.

- When you’re going to add, always draw away from your latest source first, that way you can always go back to it (have an untainted source). This approach provides greater consistency and options. In the image below, Juan creates a second thicker pool of paint to work with as a basecoat for example purposes.

- When you’re going to add, always draw away from your latest source first, that way you can always go back to it (have an untainted source). This approach provides greater consistency and options. In the image below, Juan creates a second thicker pool of paint to work with as a basecoat for example purposes.
Comparing Glaze Mixtures
Water
- Cheap and available
- Is a solvent. Too much and the paint will run when applied (and behave like a wash)
Glaze Medium
- Maintains paint consistency (easy to work with)
- Leaves a thicker layer when dried (it’s transparent, but doesn’t evaporate like the water)
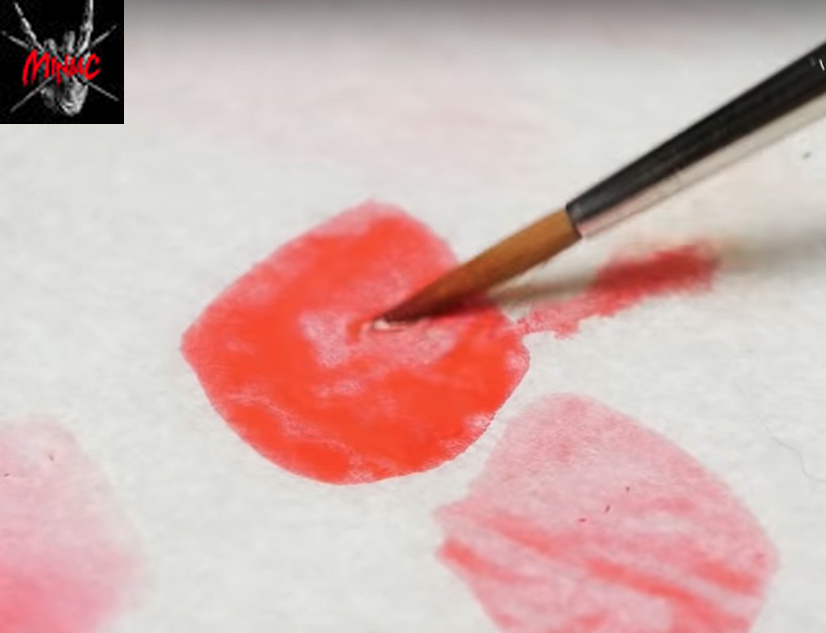
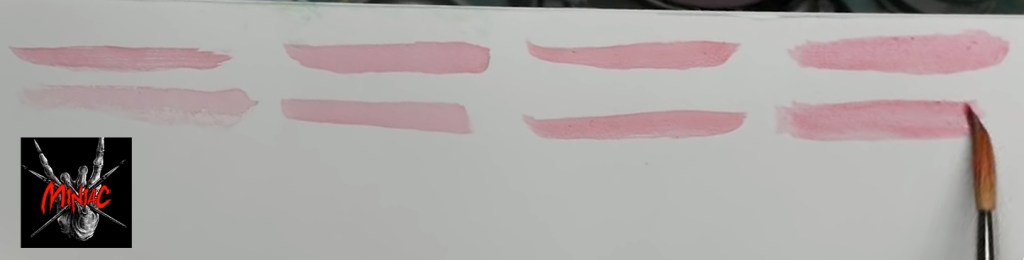
The Miniac compared glaze made from red acrylic paint with a roughly 1:4 mixture of paint to:water, Vallejo Glaze Medium, and Citadel Technical Lahmian Medium. There is also a Vallejo ink combined with Vallejo Glaze Medium. His conclusion, which I agree, is that they’re all basically the same. He does note there’s a red ring for the water glaze and the water didn’t wick off his brush as nicely as some of the other products. My hunch is that ultimately the painter is looking for a specific transparency and they all can achieve that look (with different amounts). This is good news for us, since you now genuinely have substitutes/options.
Acrylic Paint vs Acrylic Ink

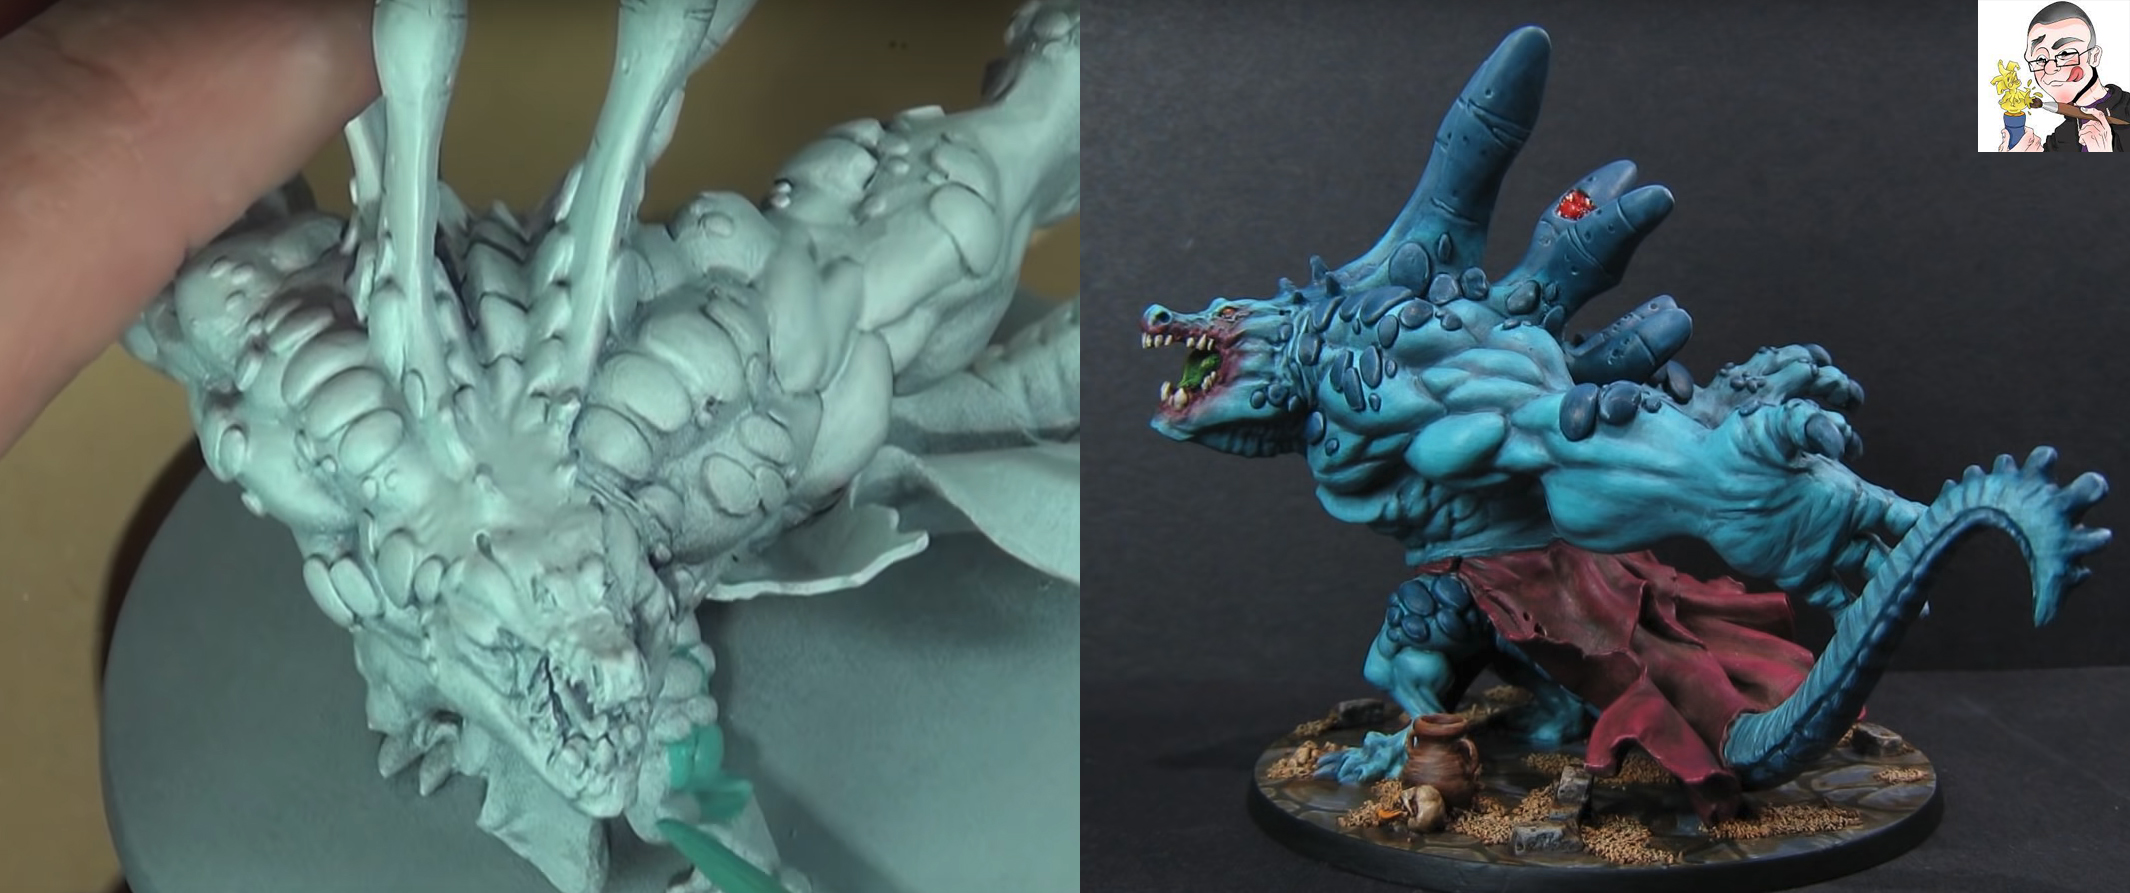
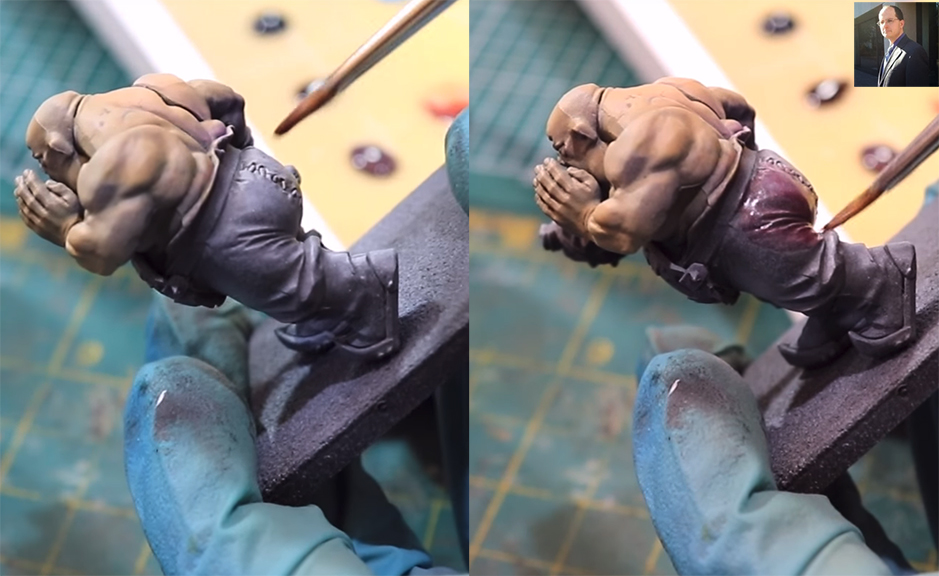
The Miniac compares glazing via paint and ink. We can clearly see the differences of undercoat opacity when they are side-by-side. Ink is more glossy and maintains the undercoat colors better, whereas paint over multiple layers is more opaque and covers up the undercoat more.
Zenithal highlights go well with Ink. Acrylic paint, would lose the color intensity. Here’s an example of Don Suratos’ ink glazing over a zenithal highlight.
Note: do NOT use Glaze Medium with inks, because inks are naturally runny. You will get the desired consistency with Matte Medium.

Nifty Tips
- Vince Venturella (award winning competitor) points out the following tips in his Hobby Cheating video on glazing.
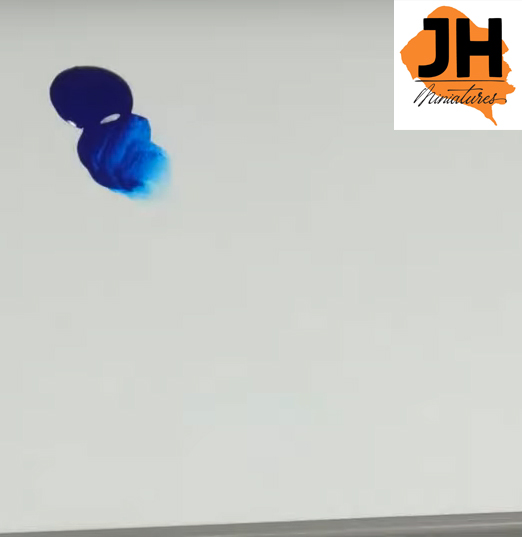
- The goal with a glaze is to have a transparent layer, but the closer your color is to white the more opaque it will be. Hence the lighter colors are more difficult to glaze.
- Naturally great glaze colors: dark blues, dark greens, dark purples, red
- if you’re going to glaze with light colors, you will want to mix using Glaze Medium and Thinner Medium to avoid a chalky look.
- You don’t have to glaze an entire panel of a miniature. A trick of using lighter or darker colors to glaze highlights or shadows adds the color emphasis you want, but avoids adding needless layers which dull details.
- The Miniac sometimes does a wet blend and the follows up with a glaze to touch up and make the blend more seamless. This saves time, since the bulk of the blend was done via the wet blend which is quick.
note: Scott’s wet blend is so good, it’s not obvious where the glaze improved things. The transition happens over a longer length in the “clean up” version, which also appears to makes the transition genuinely more subtle. Scott is a beast!!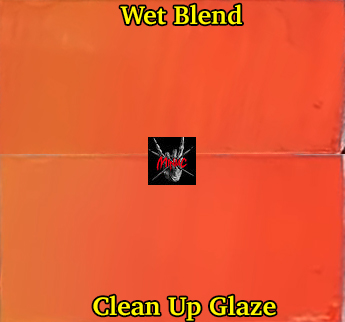
- Practice on textured bases. You learn a lot but is lower risk (since you’re not risking a miniature)

Leave a comment